How To: Water Crossings, Part 3: Driving Across In Unsealed 4X4’s Part 1 How To: Water Crossings we looked at how to make sure if your vehicle is properly prepared to tackle deep water, while in Part 2 we examined how…
In Unsealed 4X4’s Part 1 How To: Water Crossings we looked at how to make sure if your vehicle is properly prepared to tackle deep water, while in Part 2 we examined how to check the water crossing itself before plunging in. In this installment (Part 3) we’ll discuss the best techniques for safely driving across to the other side.
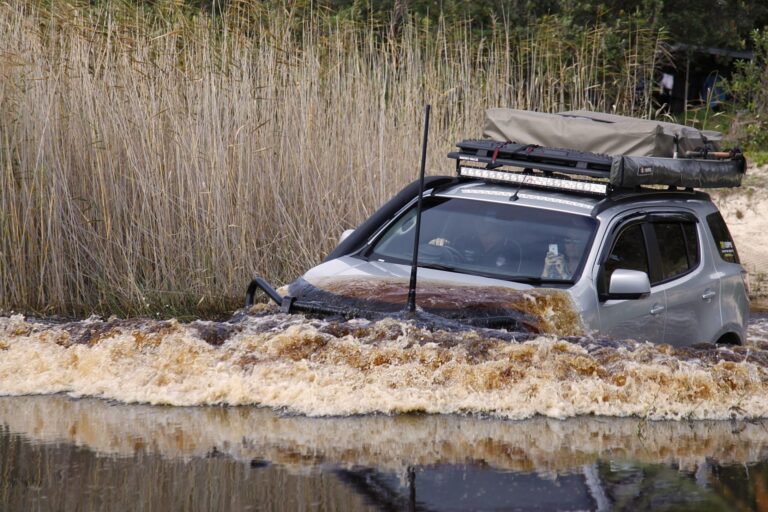
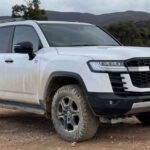
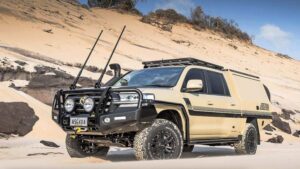
Once you’ve set up your vehicle for the crossing (i.e. it’s fitted with a water crossing cover, a snorkel, diff breathers etc.) and you’re happy with the state of the crossing (i.e. it’s not too deep, it’s not flowing too fast, you know where submerged obstacles are and you’ve checked out the best entry and exit points) it’s time to take the plunge.
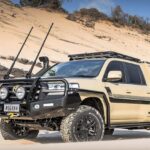
This vehicle is set to go with a Safari snorkel and ARB water crossing cover .
The right speed
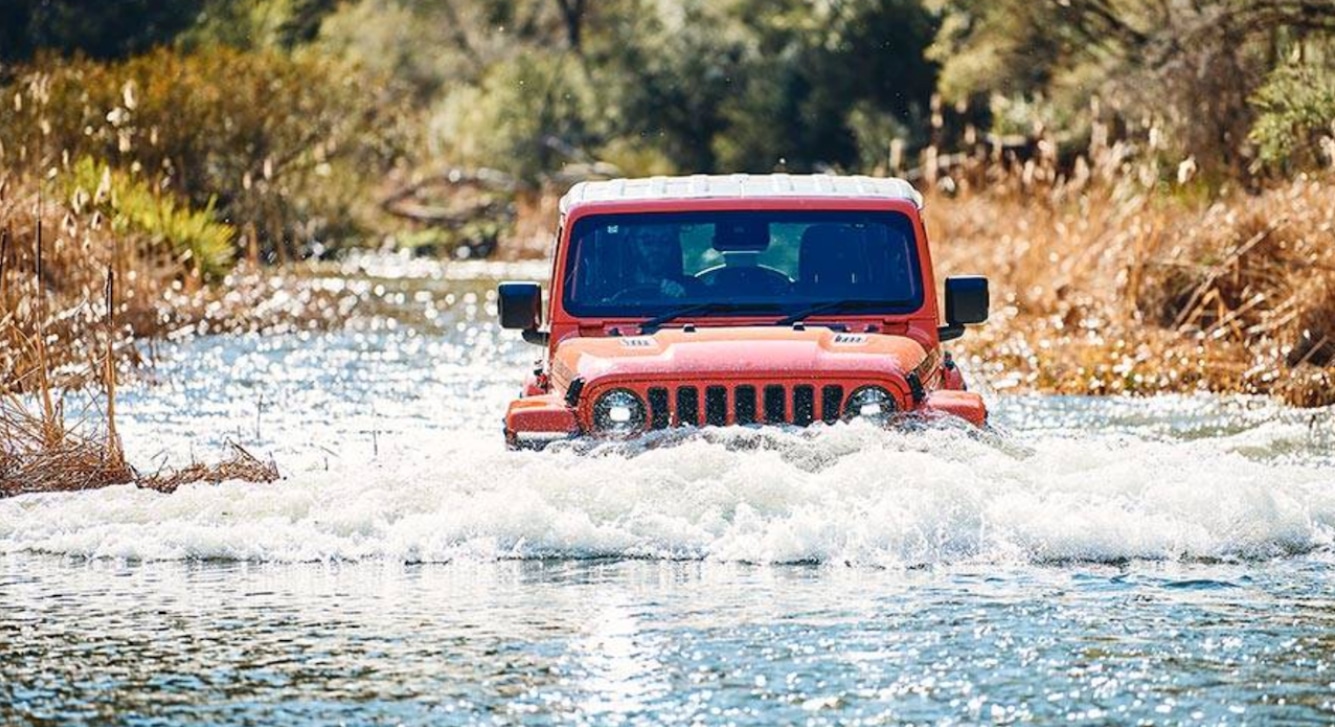
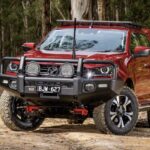
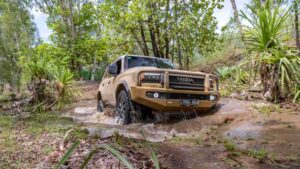
The first thing you’ll need to do is ascertain the best speed and the right gear for the crossing. What you want is enough speed to keep up momentum while also creating a bow wave in front of the vehicle. If you go too slow there will be no bow wave, and if you go too fast the water will flow up and over the bonnet.
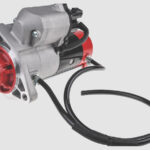
The problem with going so slow that a decent bow wave is not formed in front of the vehicle is that water will flow straight into the engine bay rather than be forced around to the sides of the vehicle. This in turn could result in the engine stalling due to water entering the air intake (if no snorkel is fitted) or getting into electrical components such as fuse boxes, the alternator or the ECU. If you’ve fitted a tarp or a water crossing cover to the front of your vehicle, and you drive fast enough to create a decent bow wave, this won’t be a problem.
While driving too slow through the water can be a problem, so too can driving too fast. Again, there’s potential to drown your engine if you’re going so fast that water rises up and over the bonnet, especially if no snorkel is fitted to the vehicle. Water splashing around the windscreen can also make it difficult to see where you’re going, no matter how fast your wipers are sweeping across the windscreen, and it’s critically important to know exactly where you are in water crossings. Finally, if you hit a submerged obstacle at high speed it’s more likely to cause damage than if you hit it at slow speed.
Get the speed right to build up a bow wave that doesn’t flow over the bonnet.
The right gear
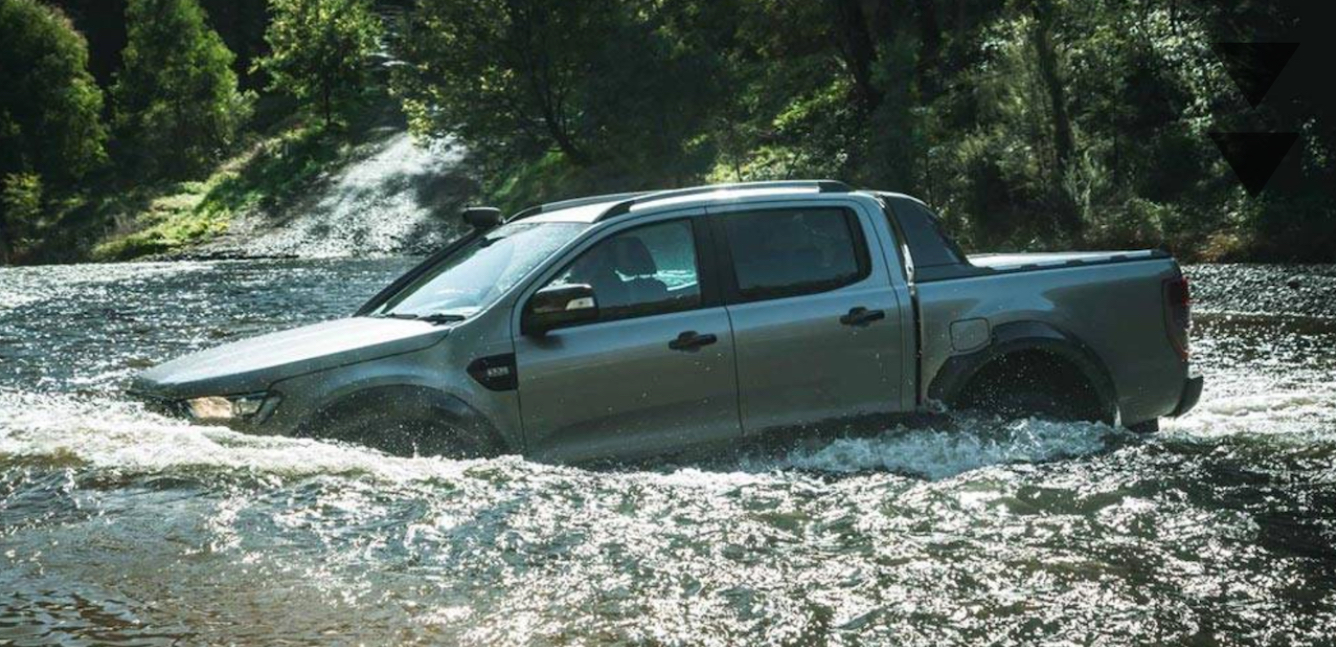
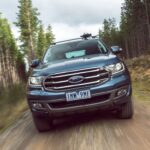
If your vehicle has a manual transmission, it’s vitally important to select the right gear for the crossing before you dive in, because if you have to change gears halfway across you can lose momentum as you put your foot on the clutch; the last thing you want is to get stuck in the middle of the crossing. In most vehicles second gear in low range is a good choice as it allows you to build up enough speed to create the aforementioned bow wave without having water flow over the bonnet. Of course, depending on the overall gearing of your vehicle, you might be better off selecting third gear low range.
You should also engage low range for water crossings in vehicles equipped with an automatic transmission. Selecting second or third gear rather than leaving it in drive will make it easier to maintain a steady speed as you drive the water crossing; if you leave it in drive and the transmission suddenly drops down a cog or two it can make it harder to maintain that steady speed.
Select the right gear and keep a steady pace.
Beneath the surface
As outlined in Part 2 of our water crossing series, you should have closely examined the water crossing before driving it to check for any obstacles such as rocks, logs or deep holes. Continue to closely monitor the situation as you drive across, keeping an eye out from the driver’s seat for any submerged surprises. Also use a spotter outside the vehicle when possible.
When the water is flowing at a decent pace, submerged obstacles can often be detected by what’s happening on the surface. Look for white water or big eddies that could signify something lurking beneath the surface.
Another thing to look out for are darker patches of water that will usually signify a deeper area that should be avoided, especially if you haven’t walked the crossing first to check the depth.
As well as keeping a lookout, use your other senses too. Once you’re happy with the bow wave in front of the vehicle, try to keep a constant speed; if the vehicle feels like it’s bogging down apply a bit more throttle, or if water starts splashing around the lip of the bonnet, back off a little bit. You’ll be able to feel soft spots beneath the surface that could indicate sand or mud, so be ready if you need to accelerate hard to avoid becoming bogged.
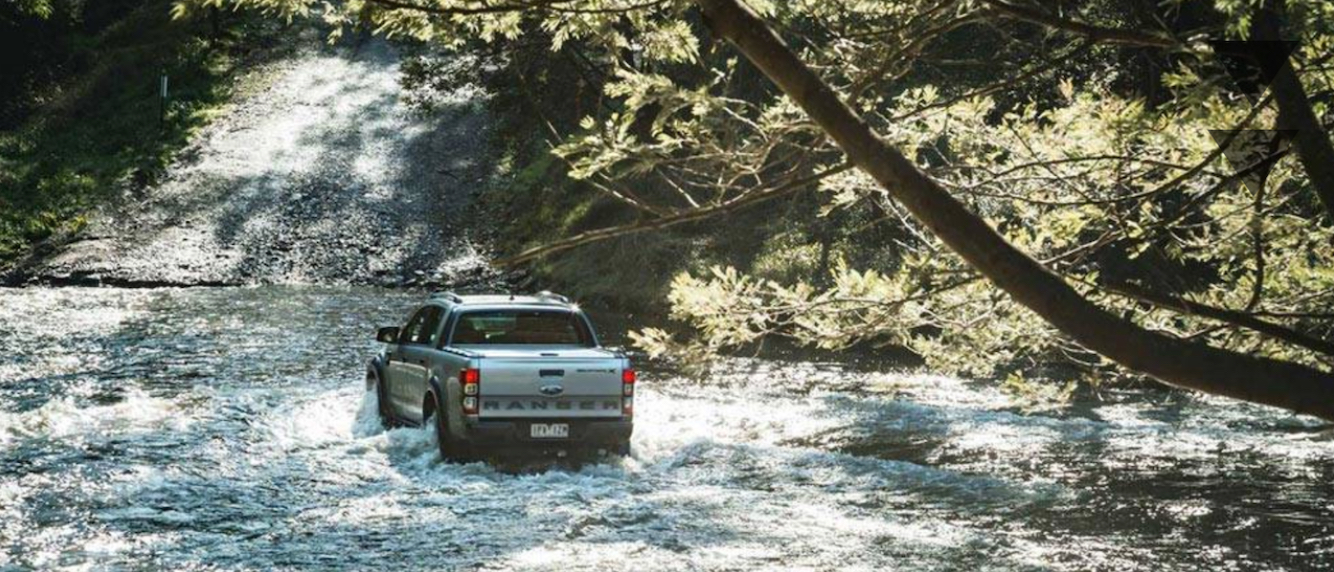
Stop before exiting to let water drain from the vehicle.
Exit point
When exiting a water crossing, particularly if it’s slippery, stop your vehicle on the bank if possible to let the water drain out before proceeding; this will minimise track damage, making it easier for following vehicles to exit the crossing.
There’s some great footage of a water crossing done right on this short video from ARB.
In our final Part 4 on water crossings we’ll examine what to do if something goes wrong and you need to recover your vehicle, as well as what to do when you get home after a trip involving water crossings.