How To: Water Crossings, Part 2: Water Check In Part 1 How To: Water Crossings we looked at how to make sure if your vehicle is properly prepared to tackle deep water. In Part 2 we’ll look at how to check…
In Part 1 How To: Water Crossings we looked at how to make sure if your vehicle is properly prepared to tackle deep water. In Part 2 we’ll look at how to check the water crossing itself to ensure you and your rig get safely to the other side.
Check it… thoroughly
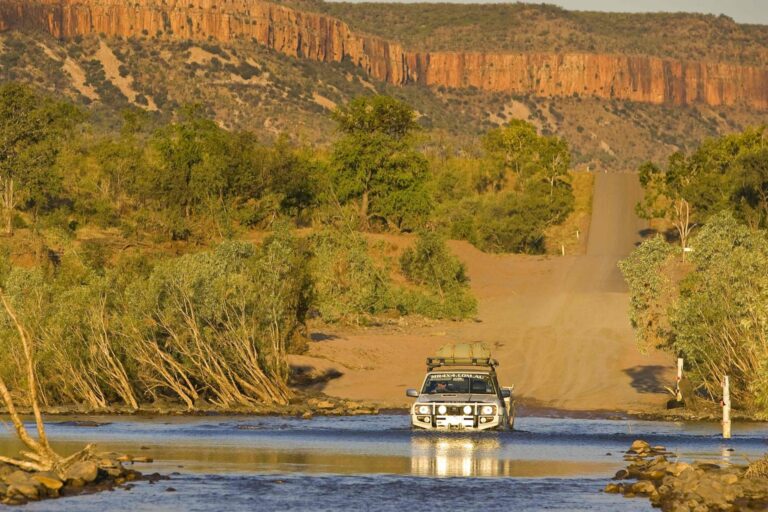
If the water crossing you’re facing is not too deep, the water is relatively still and it’s clear enough that you can see to the bottom, you should be able to take on the crossing without any problems, but it’s always a good idea to let your vehicle cool down a bit before plunging hot mechanical components into icy-cold water.
If the water is deep or fast-flowing and you can’t see what’s beneath the surface from the driver’s seat of your 4×4 you’ll need to take a closer look.
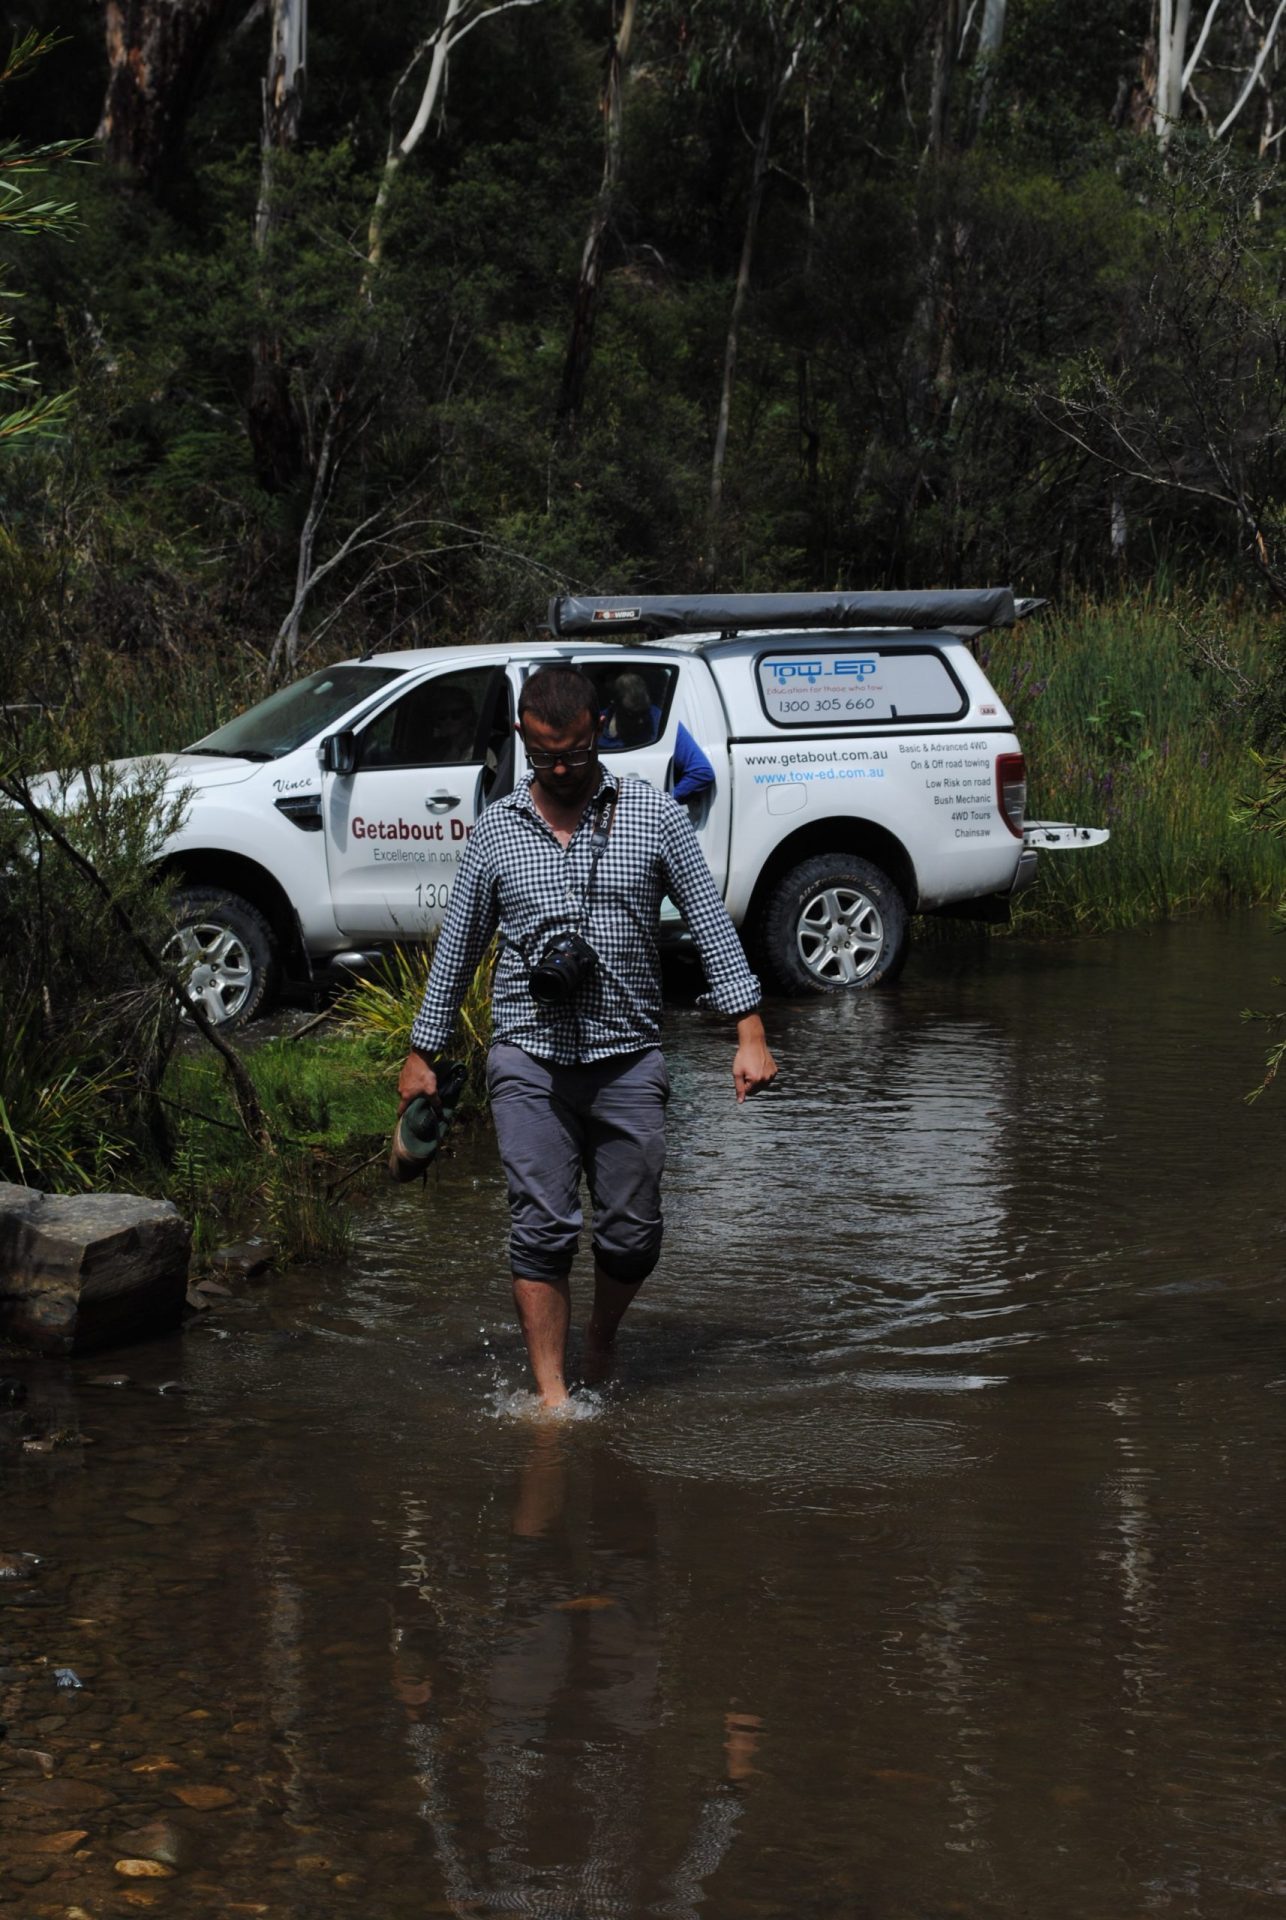
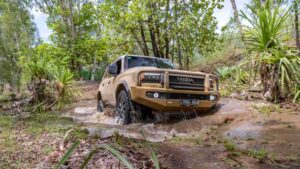
It’s better to walk a crossing before you test the depth with your 4×4.
The first step will be an inspection from the water’s edge. If it’s a river before you, make sure the water isn’t flowing too fast. Have a good look for any submerged obstacles such as rocks, logs or deep holes. Polarised sunglasses will help you to see what’s lurking beneath the surface so always keep a pair handy in your vehicle.
If you’re crossing a creek on a beach, check to see if there are any vehicle tracks that might indicate the best place to cross. Have a good look at the sides of the water crossing, both at the entry and exit points, to make sure they’re not so steep that you’ll get stuck or damage your vehicle.
If the water is so murky that you can’t calculate how deep it is, or you can’t see what’s lurking beneath the surface, it’s time to remove your boots, drop your strides and conduct a physical inspection… in other words, walk it.
When in doubt, whip off your boots, roll up your pants and walk the crossing before driving it.
Walk it… carefully
Okay, so if it’s nearing winter up in the High Country, the water is going to be bloody cold, but it’s still better to walk an unknown water crossing before risking your 4×4 in it, so whip of your boots, throw on some thongs, roll up your pants (or take them off) and carefully start wading across the river. And take a decent-size stick with you; you can use it for balance and to have a poke around.
When you’re walking through the water, you should be able to feel how much traction you’ll have when eventually driving through it. Use your feet to feel where it’s rocky, where it’s sandy and where it’s muddy, and have a feel around for obstacles that could be problematic when you’re driving across such as rocks, logs or deep holes.
Also try to determine how fast the water is flowing. If you’re struggling to stay upright on your feet when walking across, it’s going to be too fast to traverse in your vehicle without being washed downstream, in which case you’ll have to look for an alternative route.
If you’re crossing a creek on a beach, you’ll know when the sand is too soft to drive across because you’ll struggle to pull your foot out of it. Check the water depth, the flow rate from the incoming or outgoing tide (it can be fast) and the size/state of the banks at the entry and exit points, and smooth them out if necessary.
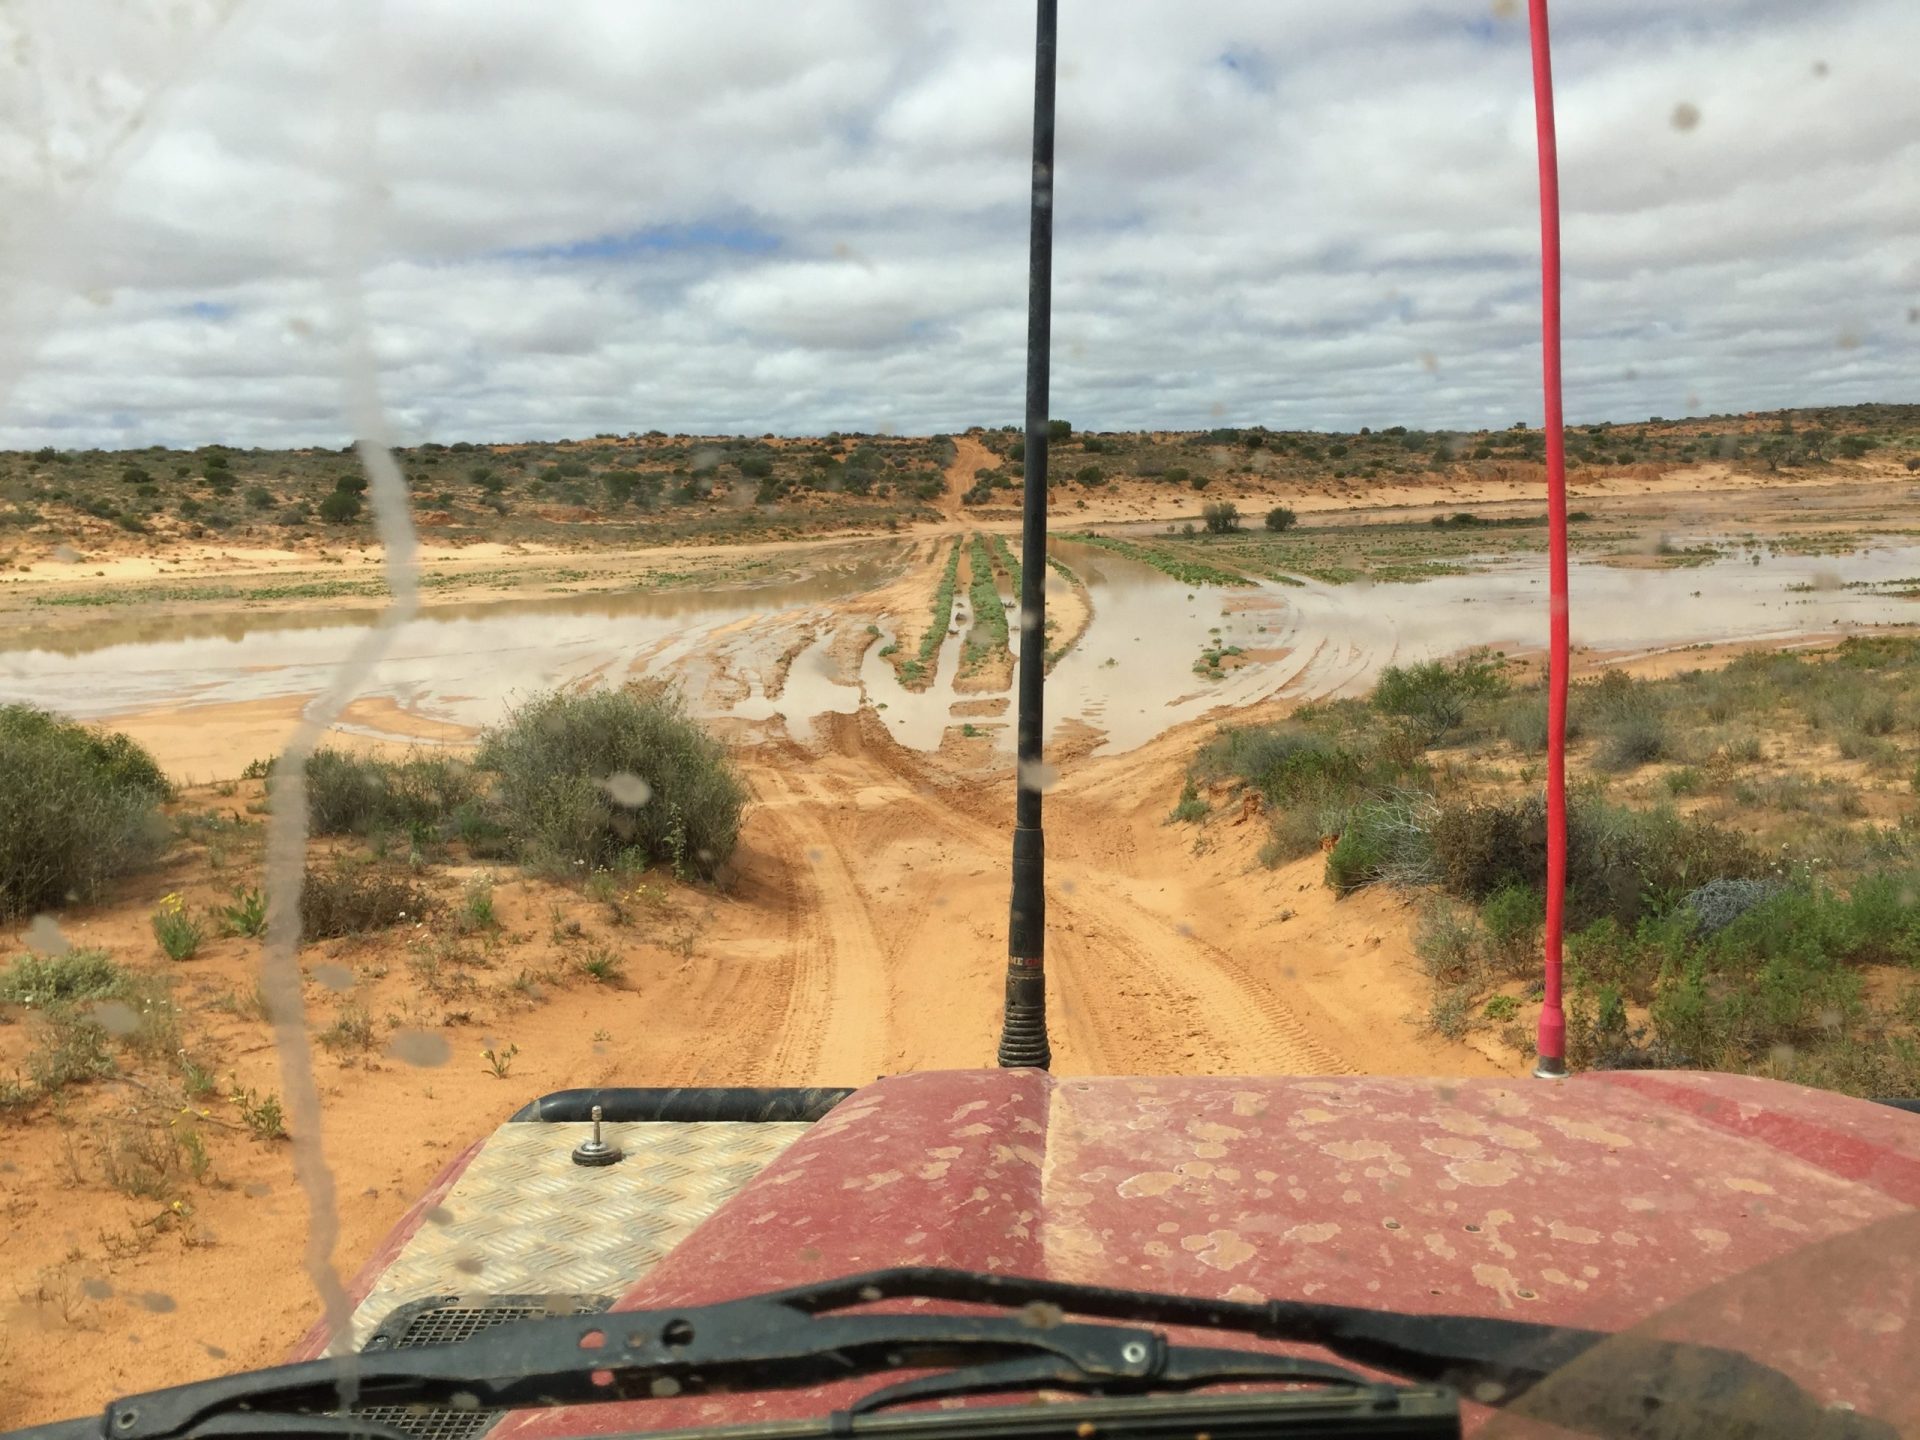
Desert water crossings are always muddy, boggy affairs.
If you’re in a flooded desert, chances are water crossings are going to be muddy, boggy affairs, and the best way to find out how muddy and boggy is by, again, walking first. Another method is to wait for someone else to tackle the crossing before you so you can see the best way across, assuming they make it.
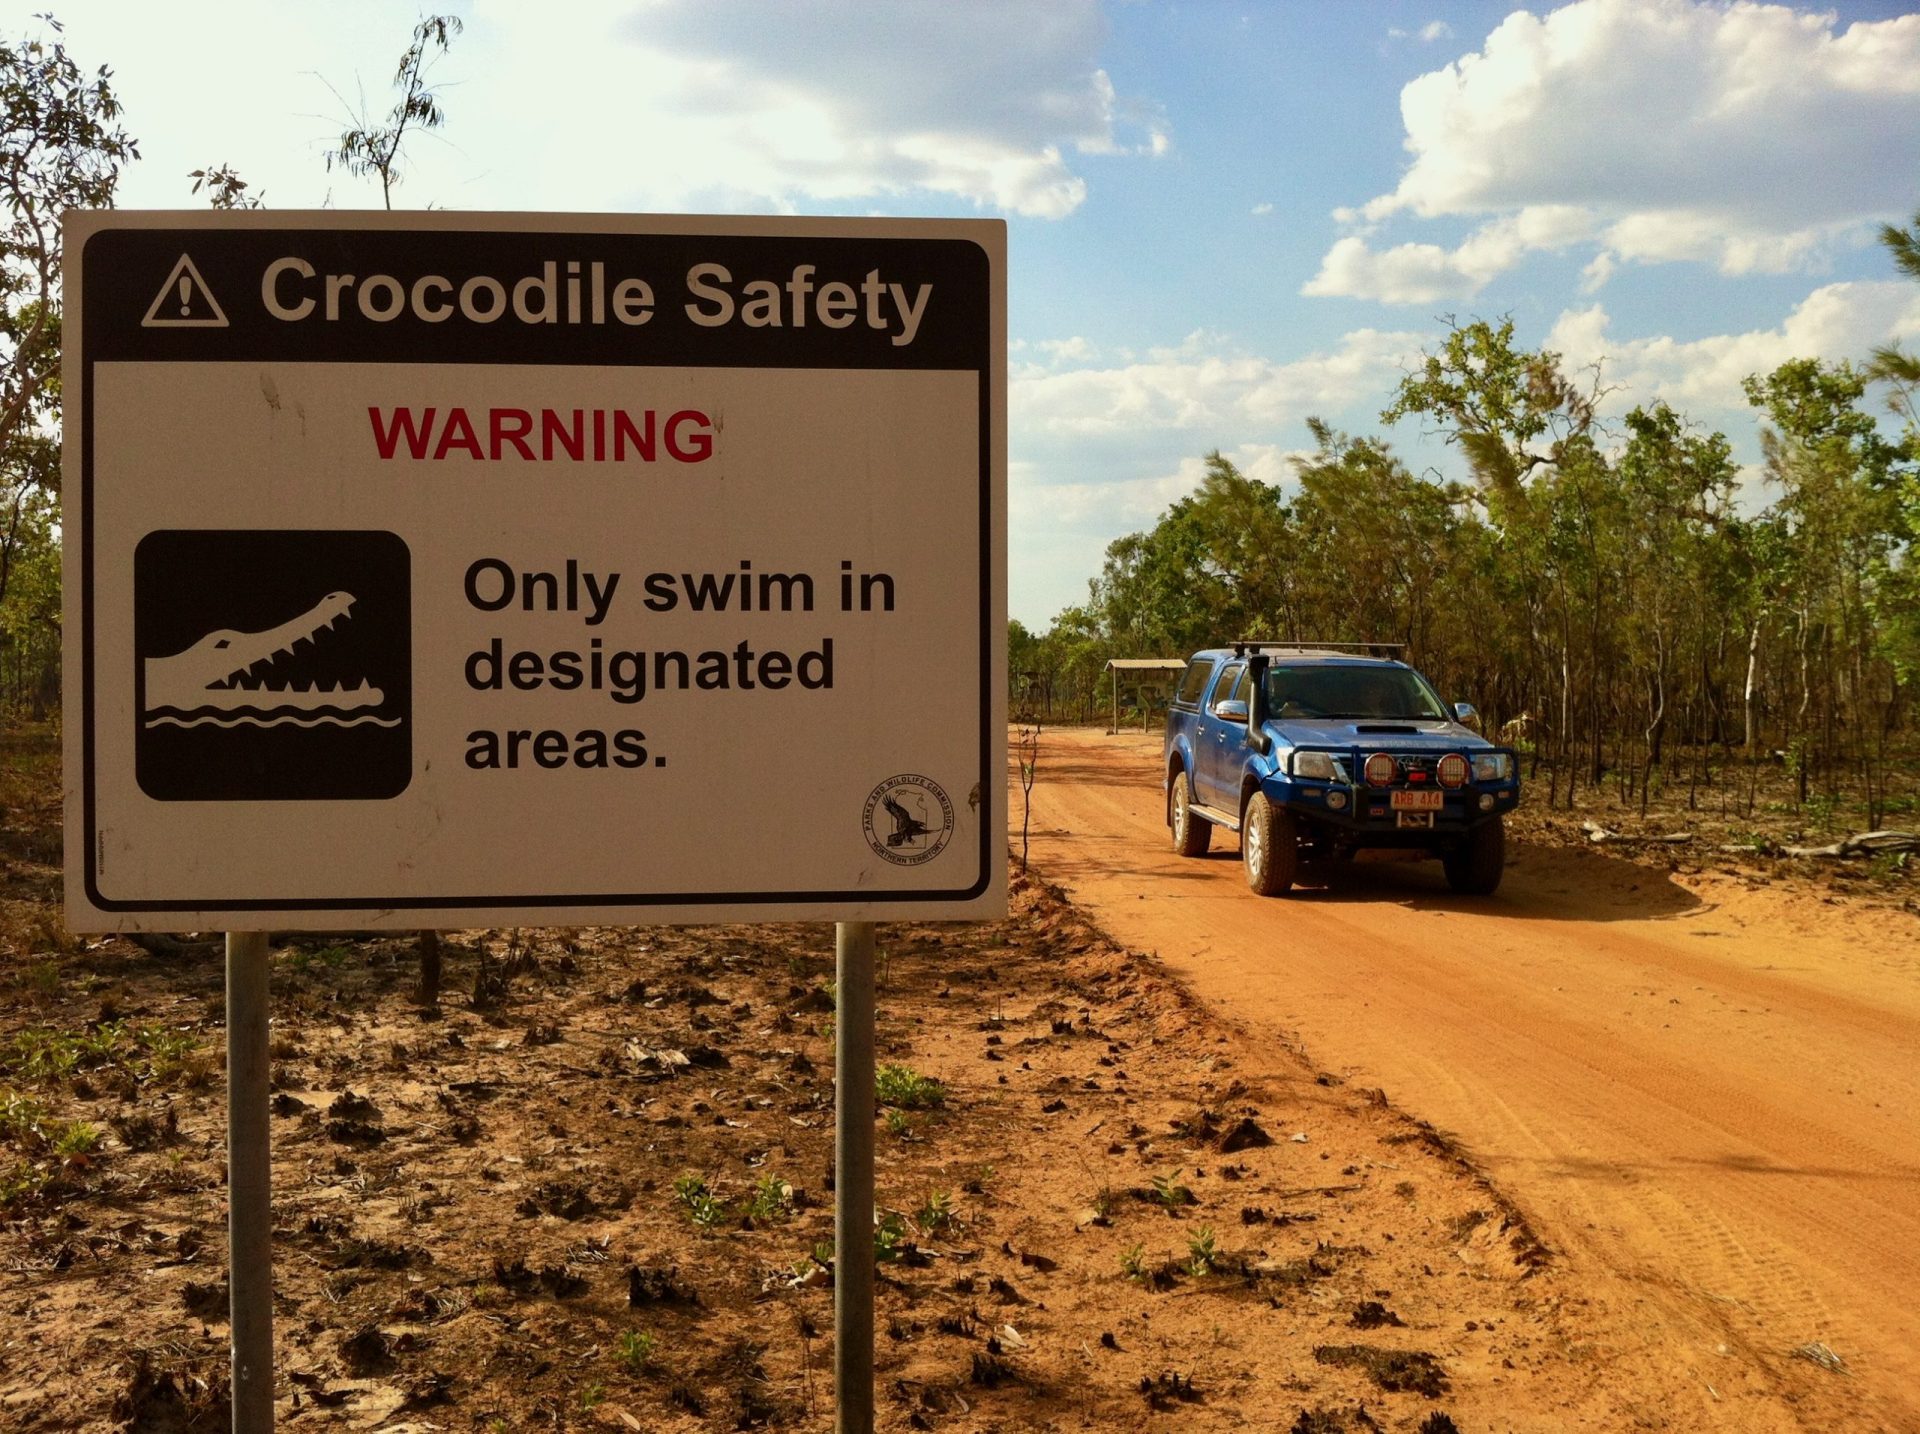
If you’re up in the tropics and faced with a water crossing known to be home to saltwater crocodiles, it’s probably best to survey the water crossing from the safety of your vehicle.
If you’re in the tropics avoid wading across croc-infested waters.
Entry and exit points
Not all water crossings will be clearly marked, some might be rocky, others might be muddy and some may have been damaged by high water, so always check the condition of water-crossing entry and exit points.
If you think you’ll damage your vehicle trying to negotiate the entry point, or you don’t think you’ll be able to climb out the other side, you’ll either have to do some track building or find an alternative crossing point.
Now you’re sure your vehicle is up to the job, and you’ve examined the water crossing thoroughly as outlined above, in Part 3 of How To: Water Crossings we’ll discuss the best techniques for safely driving across to the other side.