Long Travel Suspension… much more than springs and shocks
Installing a long-travel suspension kit can involve much more than just bolting in new springs and dampers. Long-travel suspension consisting longer springs and matched shock absorbers can provide many on- and off-road benefits for four-wheel drivers. On-road benefits can include…
Installing a long-travel suspension kit can involve much more than just bolting in new springs and dampers.
Long-travel suspension consisting longer springs and matched shock absorbers can provide many on- and off-road benefits for four-wheel drivers. On-road benefits can include much improved ride quality and better road holding, particularly over rough and corrugated roads, while off-road benefits can include more ground clearance and better axle articulation (wheel travel). But fitting a higher-riding suspension kit can also cause problems due to changed suspension geometry. Fortunately, this is not as difficult to fix as you may think.
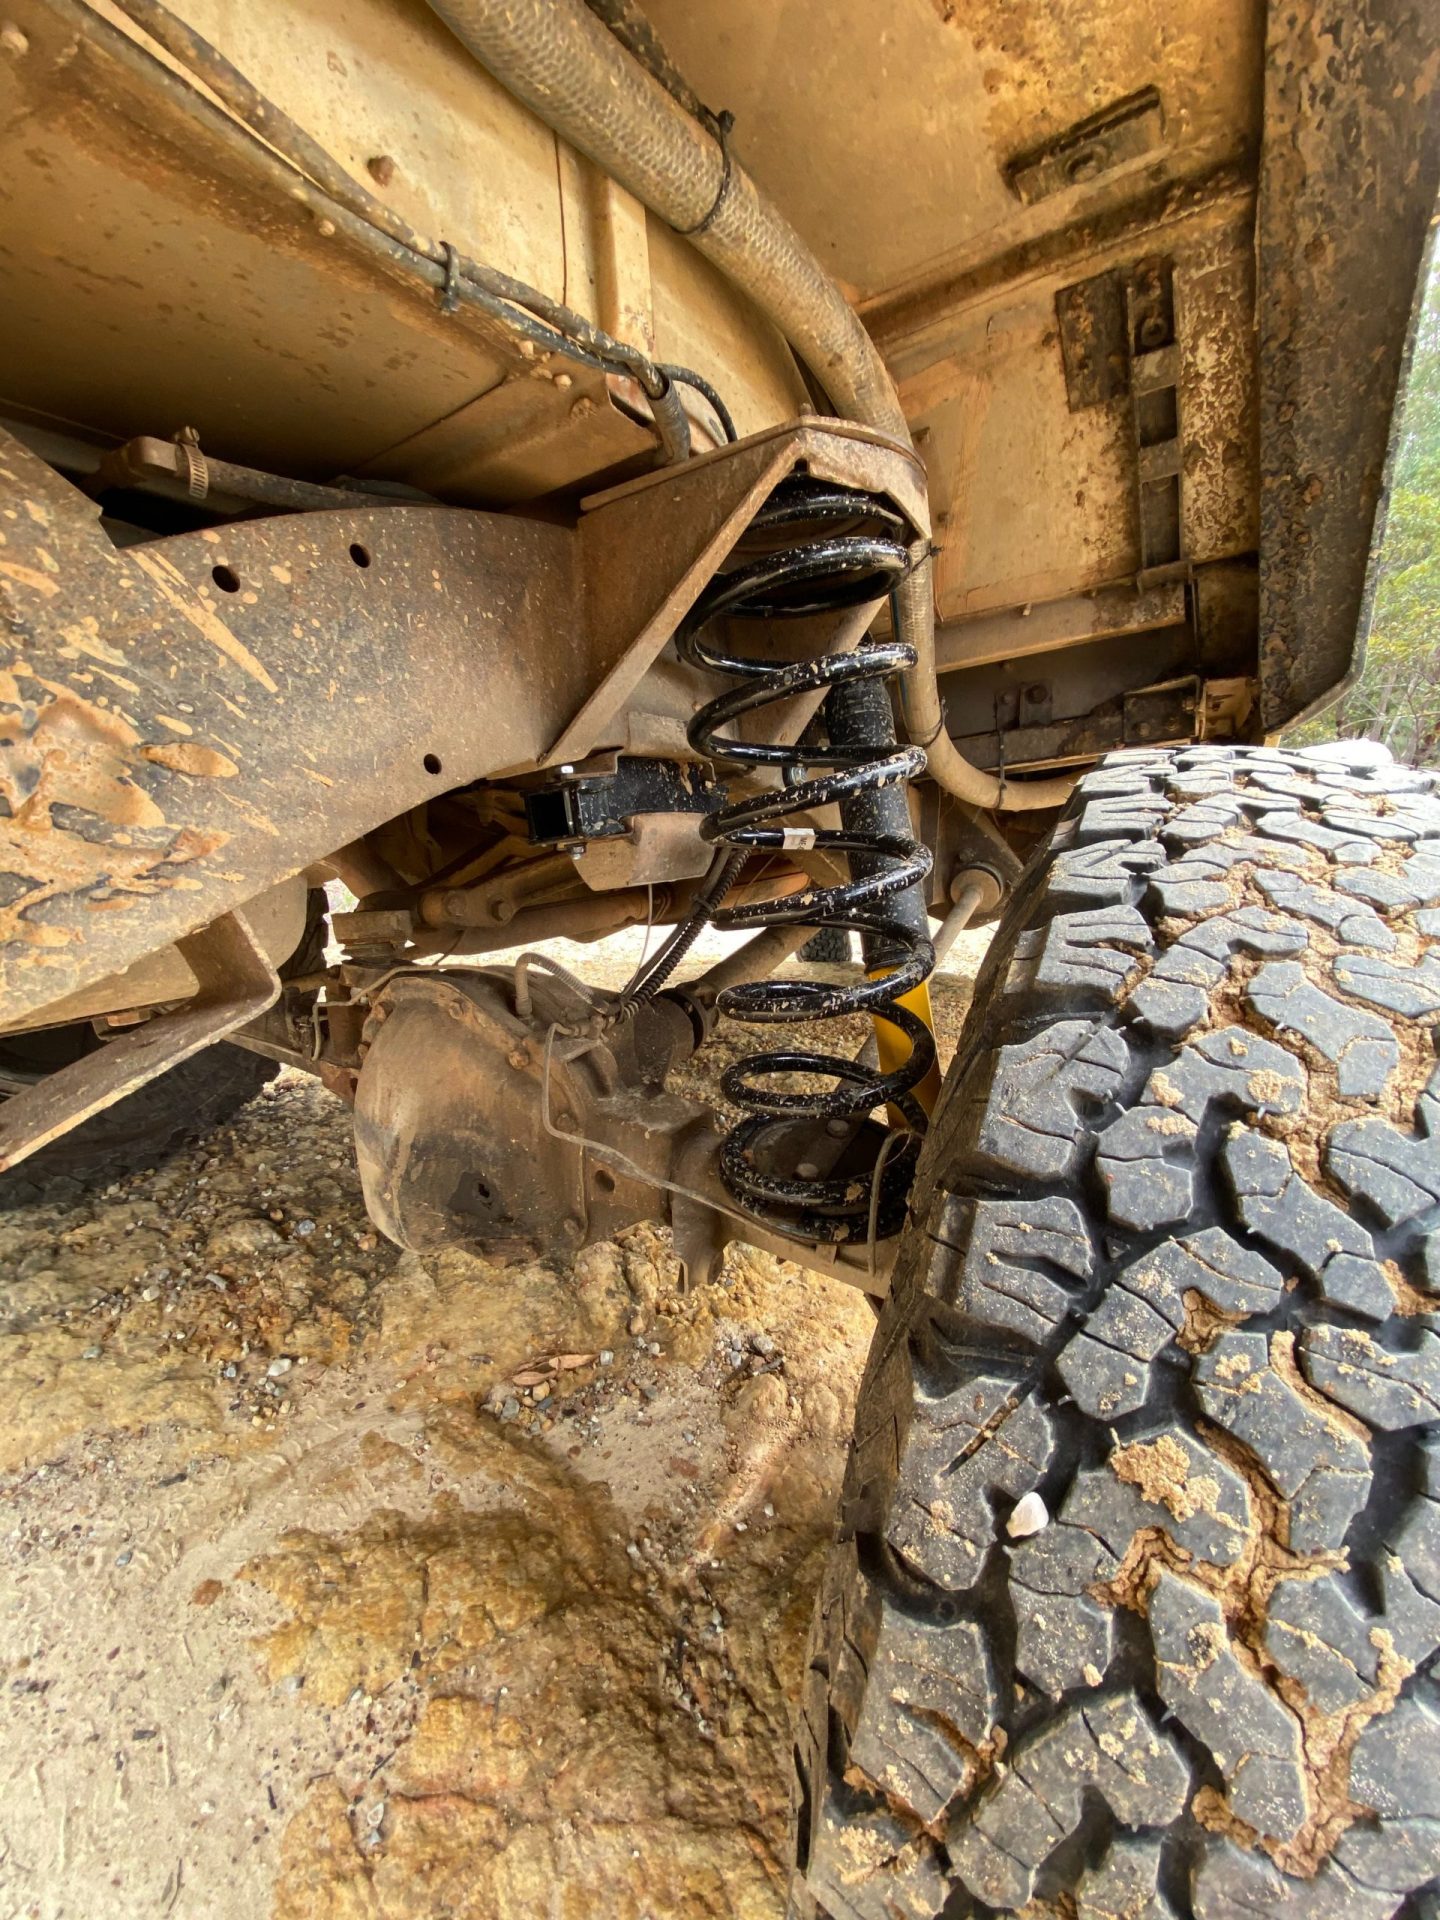
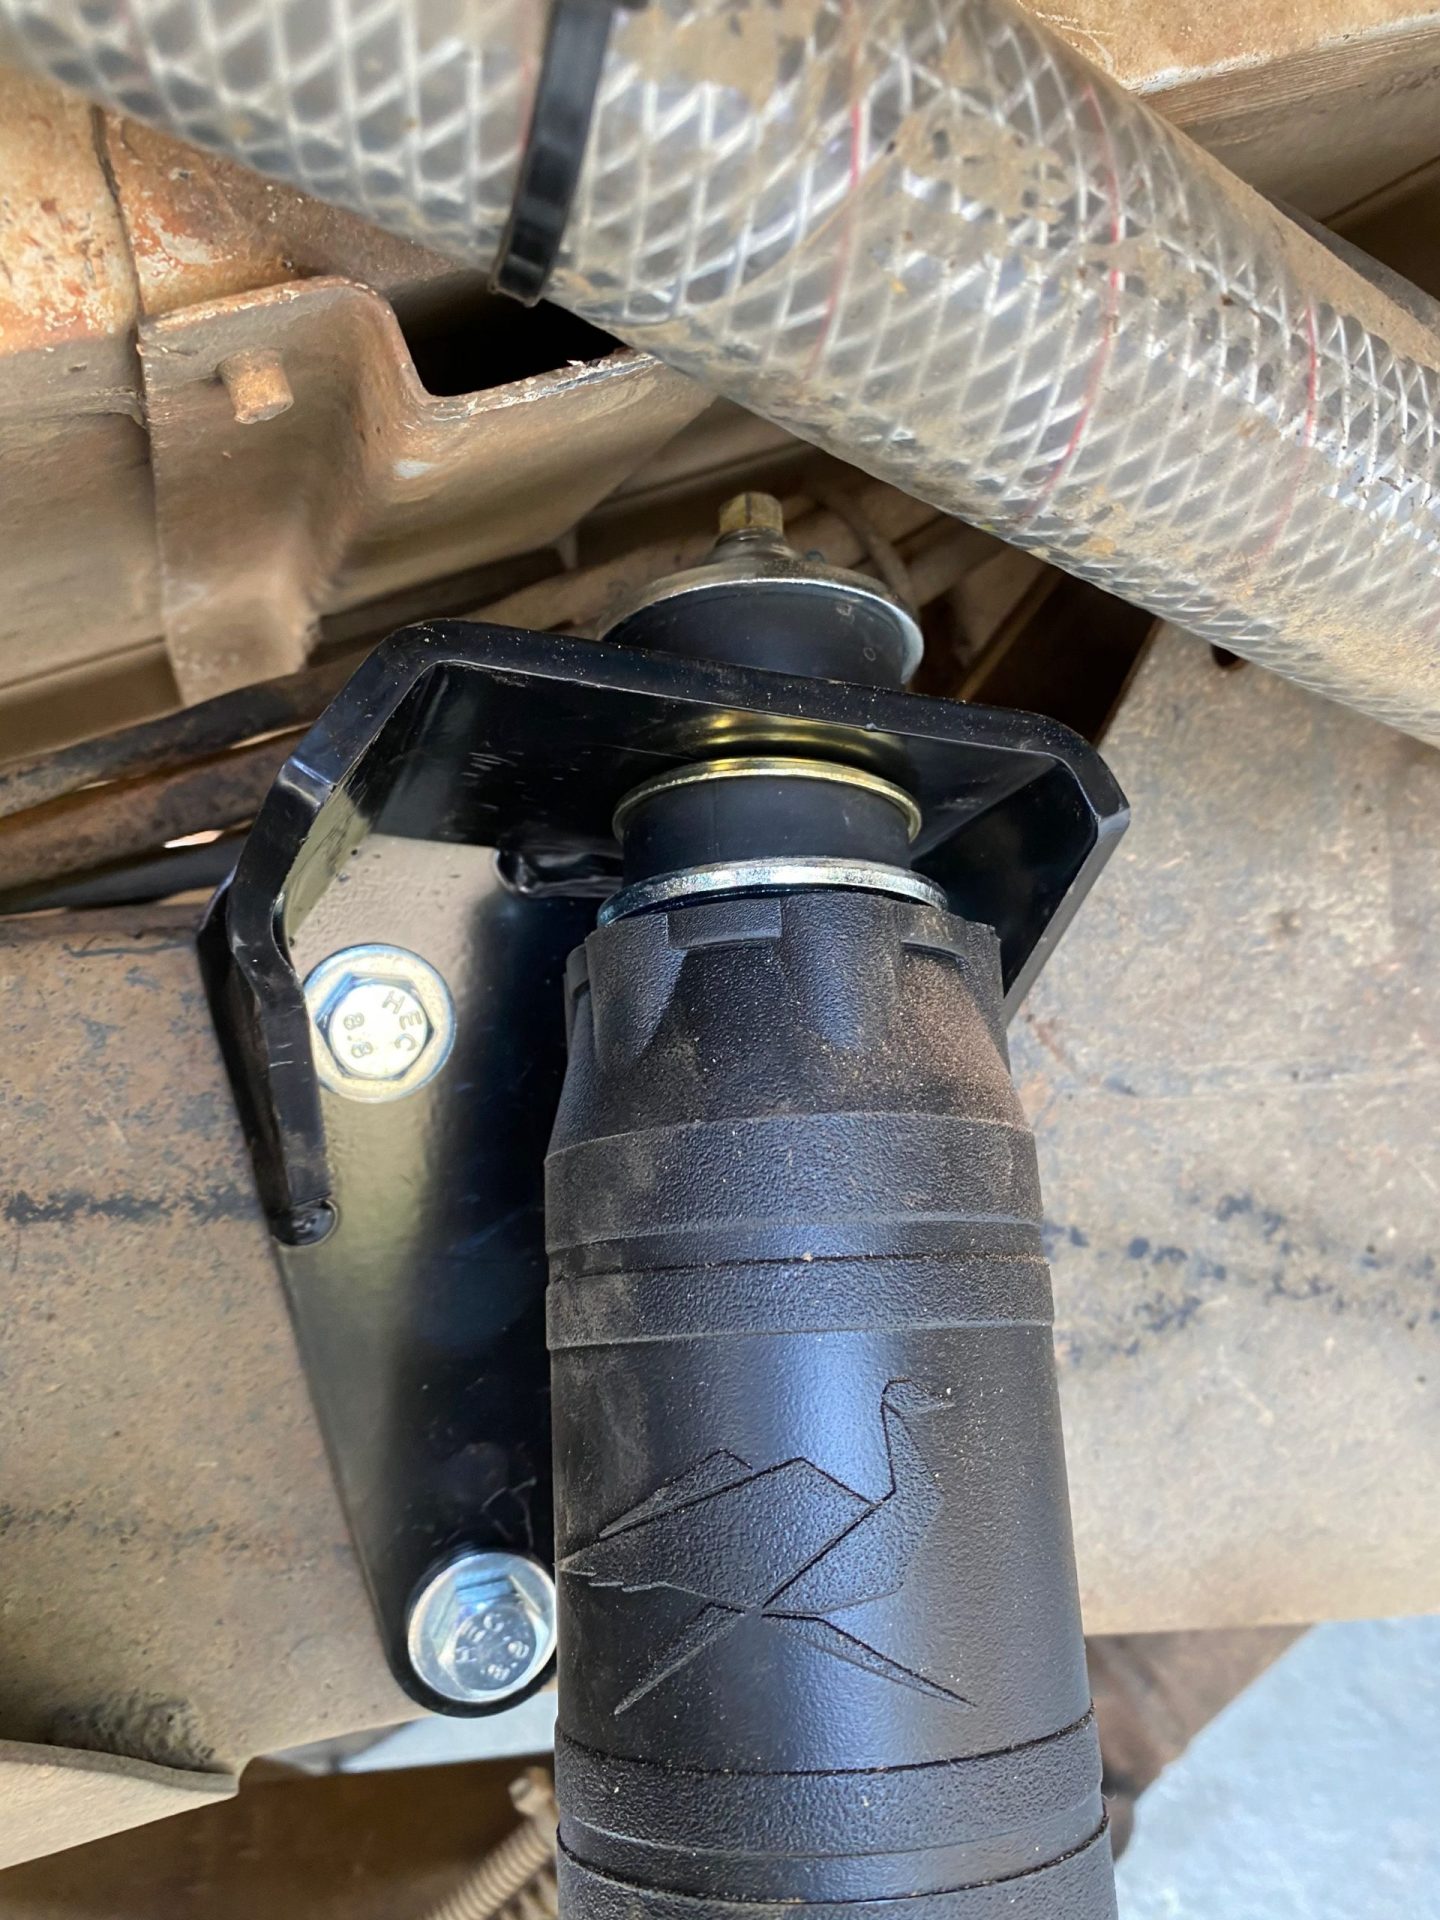
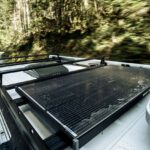
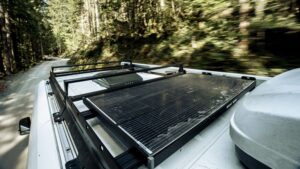
OME light load long-travel rear springs provide plenty of travel. Note the bump-stop spacers in this pic.This is one of the rear upper shock mounts, fitted after the previous story/video on this subject due to stock availability at the time.
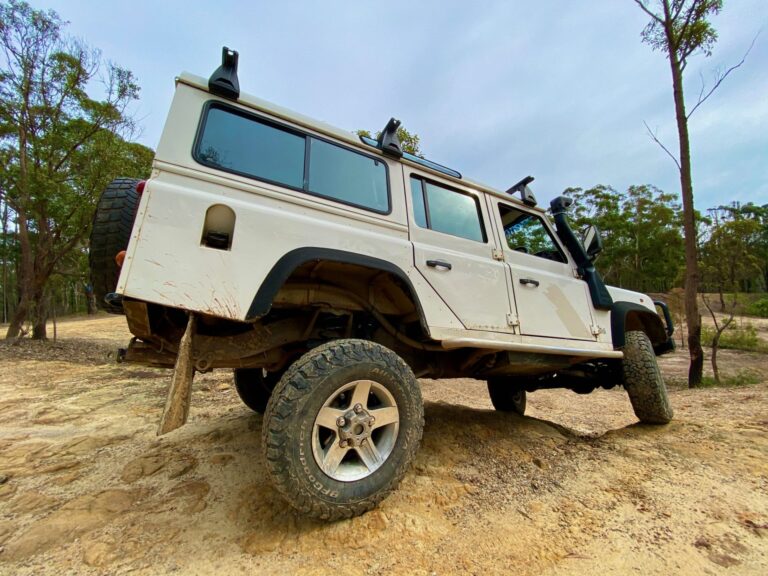
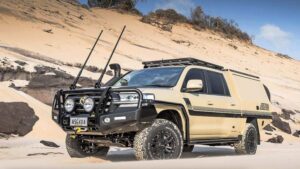
A few months ago I fitted an ARB OME Long Travel suspension kit to my Land Rover Defender. Not only was the old suspension system sagging and tired, it also didn’t provide much front-end axle articulation, so it would cock a front wheel without much provocation when driving over undulating tracks. As well as longer springs and matched dampers, the OME kit comes with new rear upper shock mounts (to suit pin to pin shocks rather than pin to eye), front and rear 30mm bump-stop spacers (that utilise the OE bump stops) and sway bar spacers (so the driveshafts don’t foul with the sway bars). I didn’t need the sway bar spacers as I don’t have sway bars fitted to my Defender.
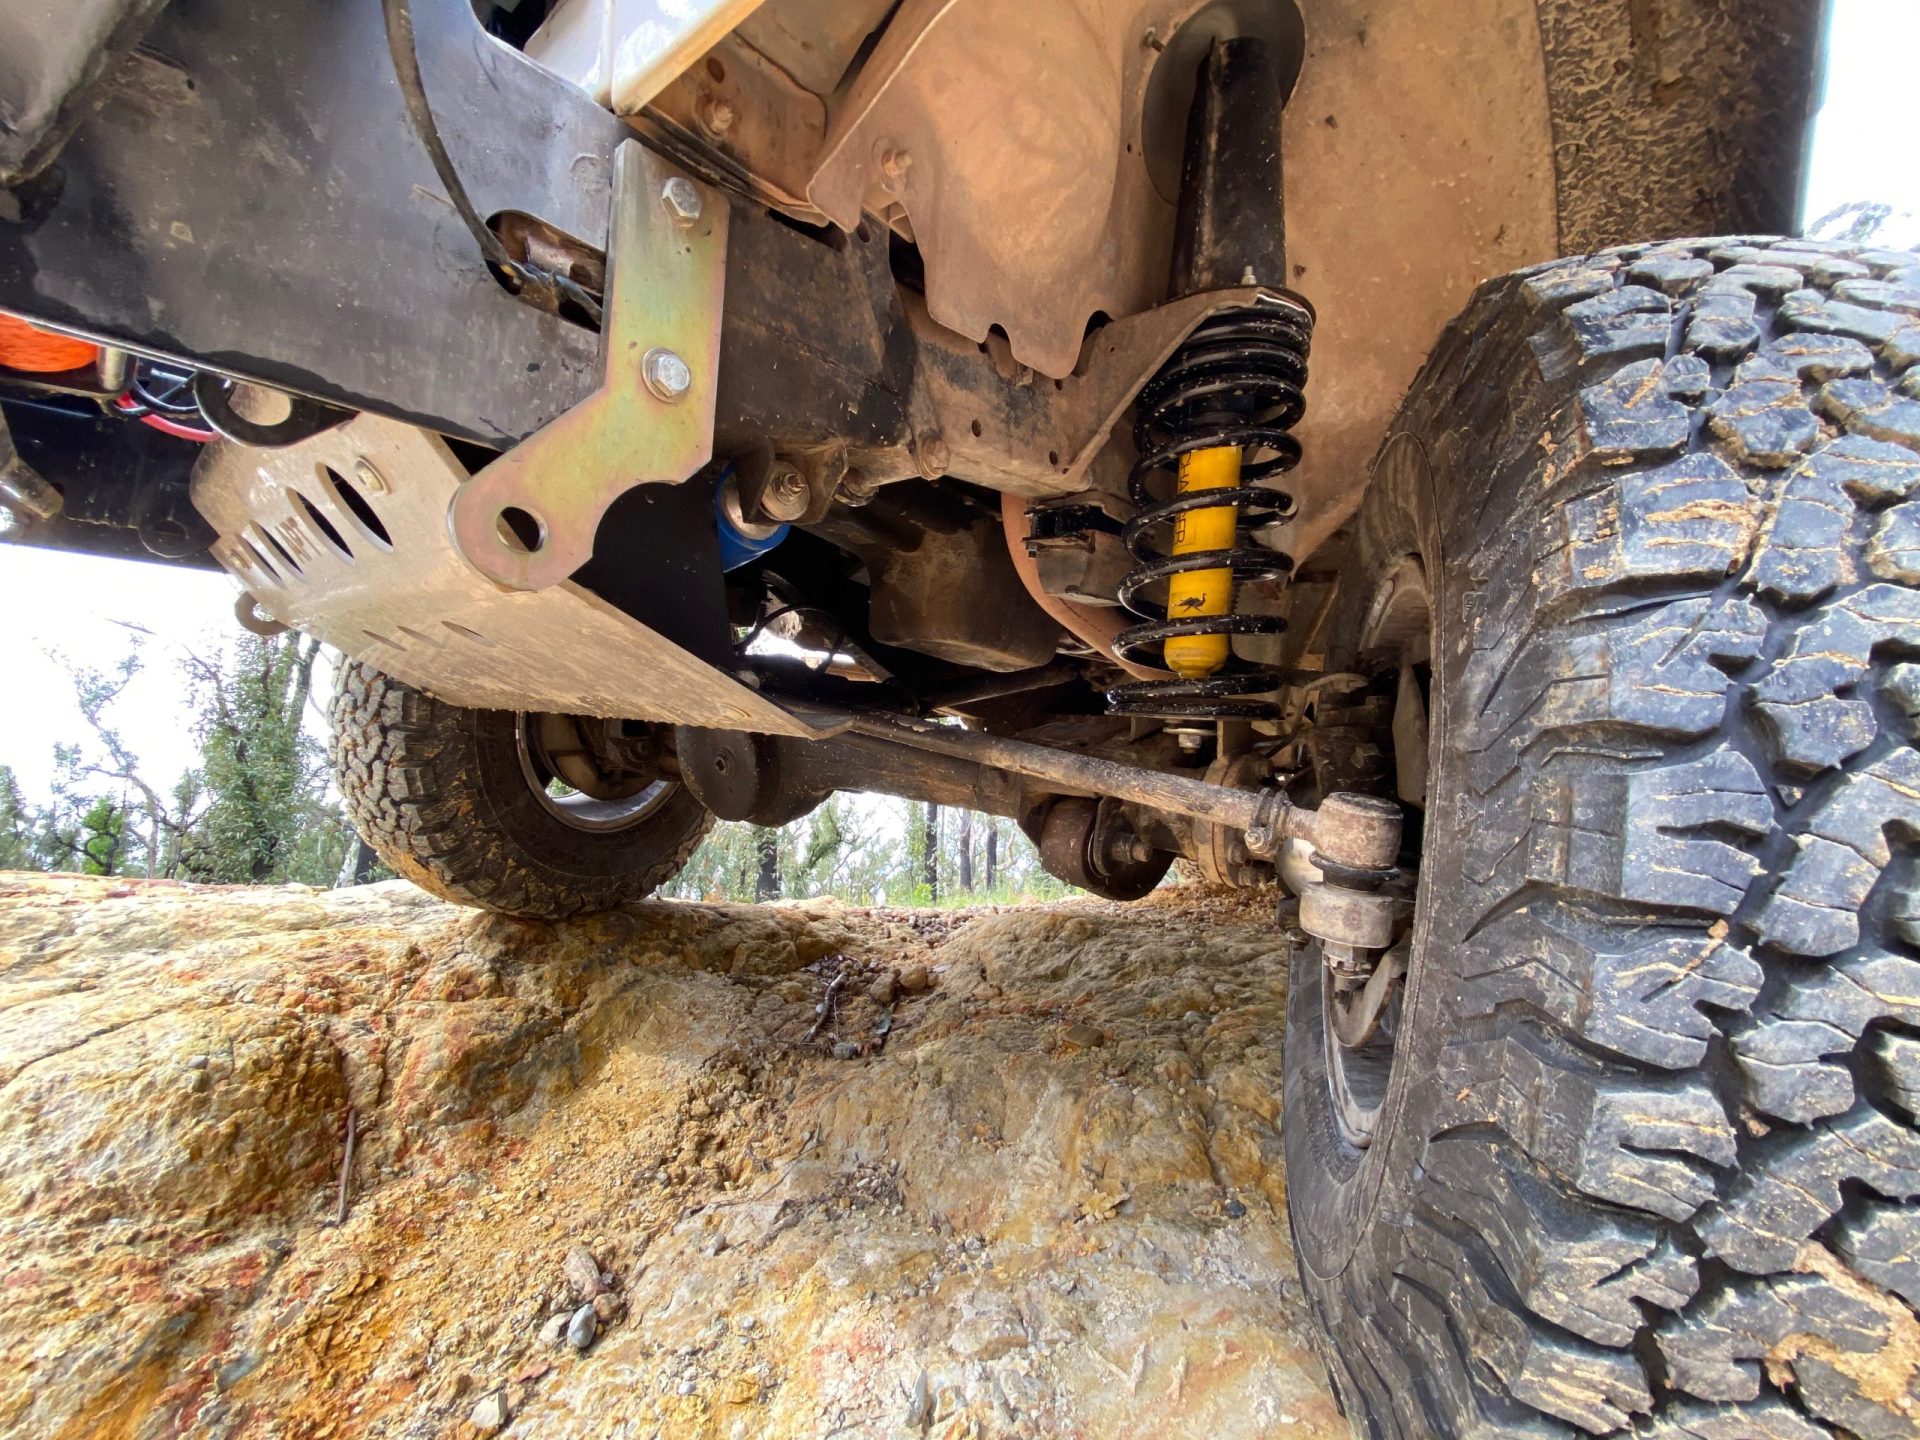
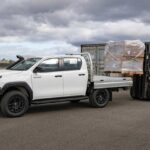
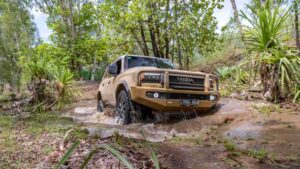
The front-end now has much better axle articulation.
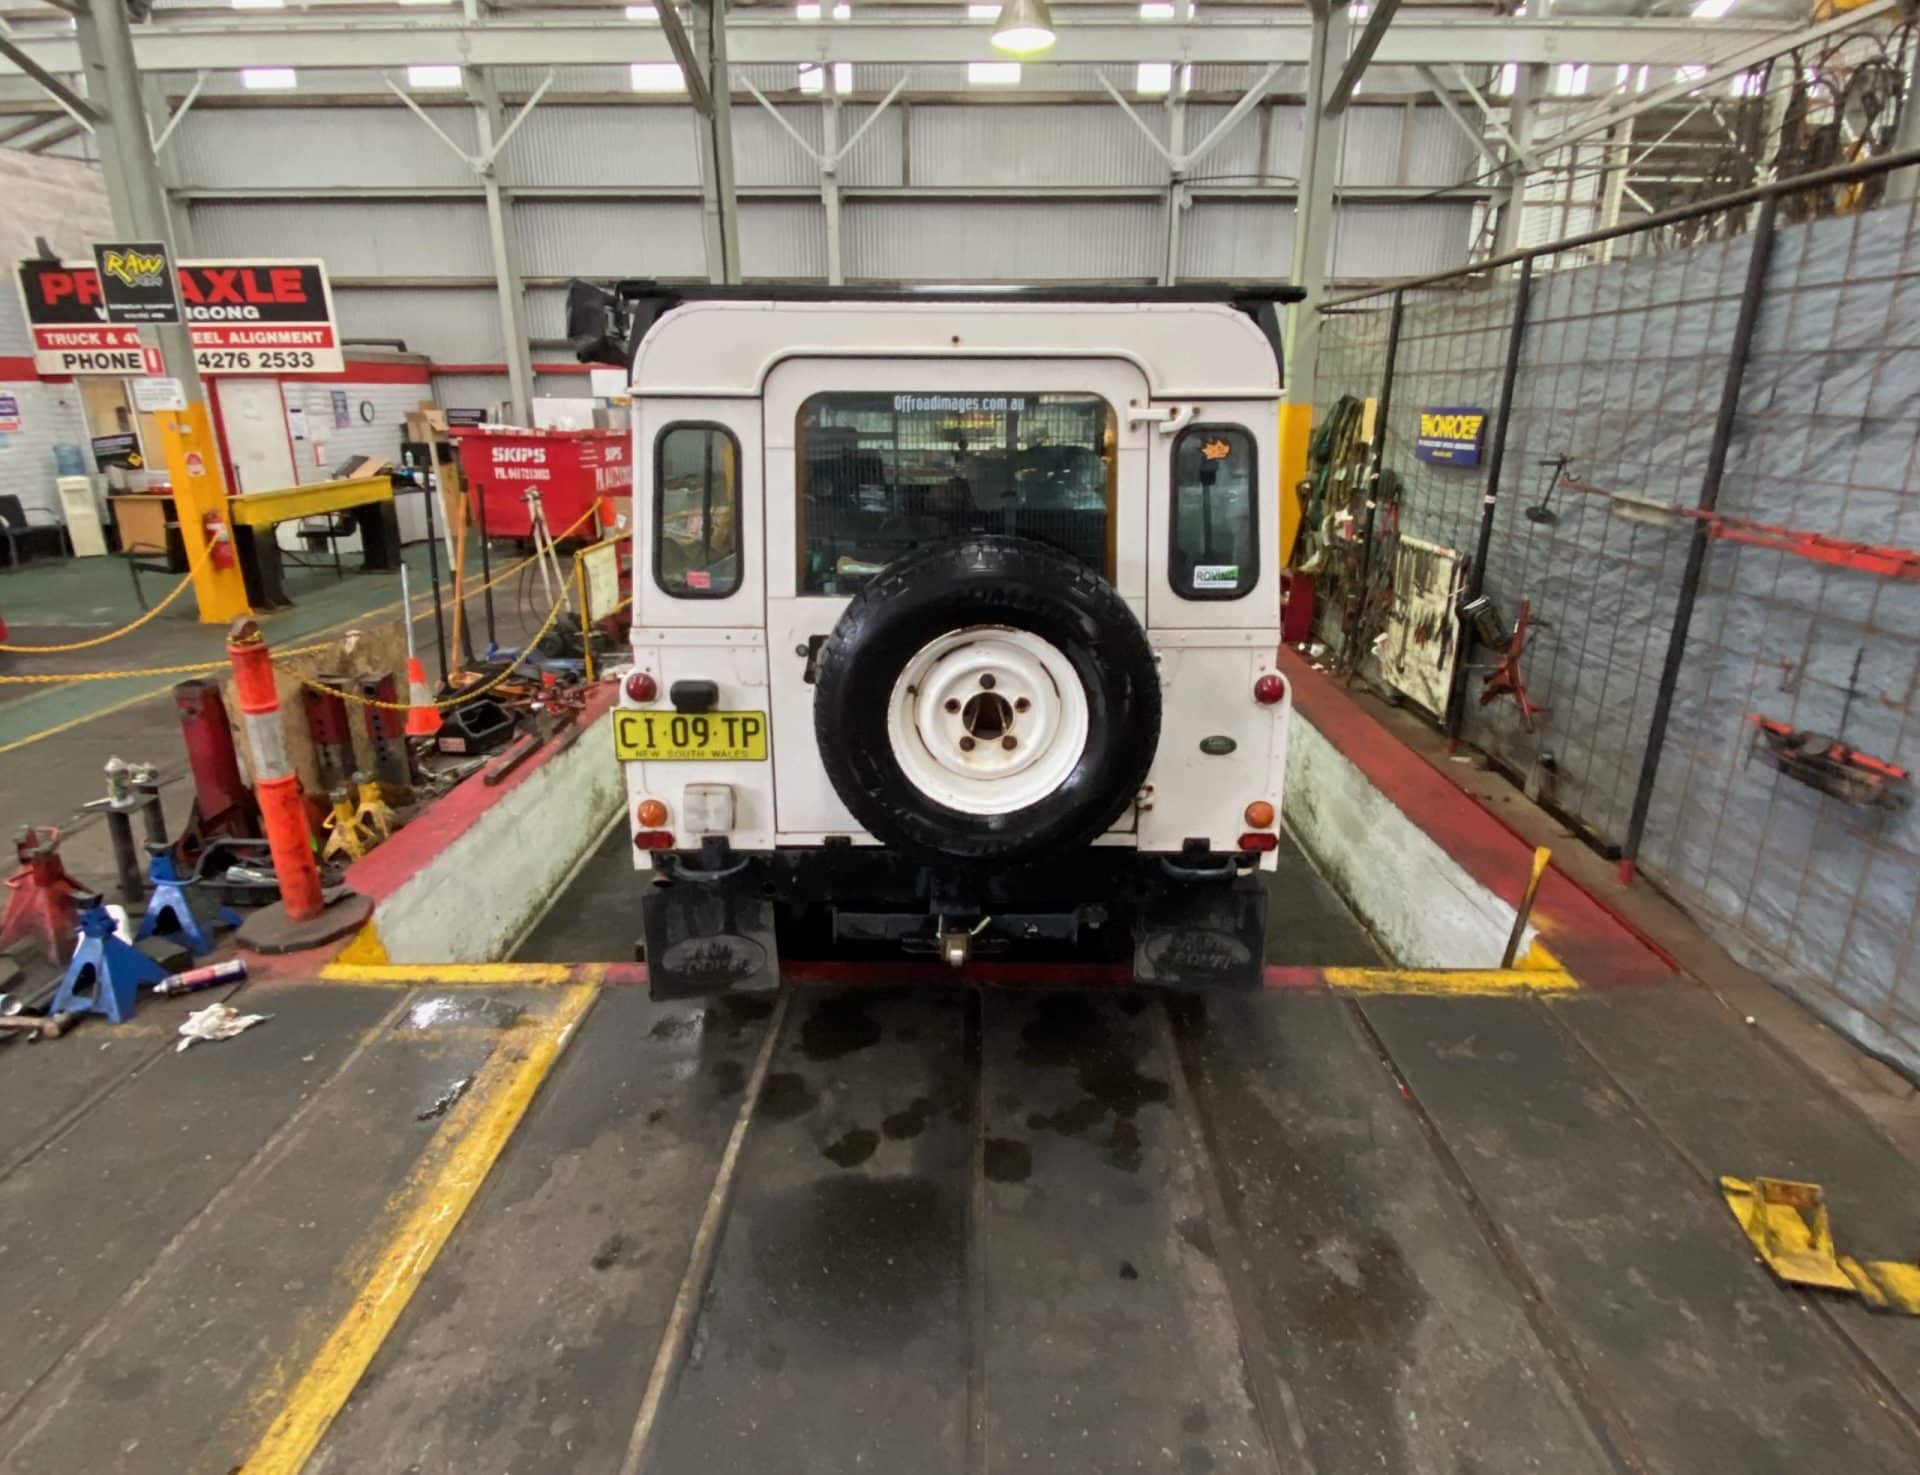
ARB also recommends the installation of 2° offset caster correction bushes (these are available through ARB) as well as a double cardan joint front driveshaft. Initially I didn’t fit the caster correction bushes, hoping that I might not need them, but the raised suspension affected the front diff angle enough that it definitely affected steering feel, so I ordered the bushes and organised to have them fitted at Pro-Axle in Wollongong.
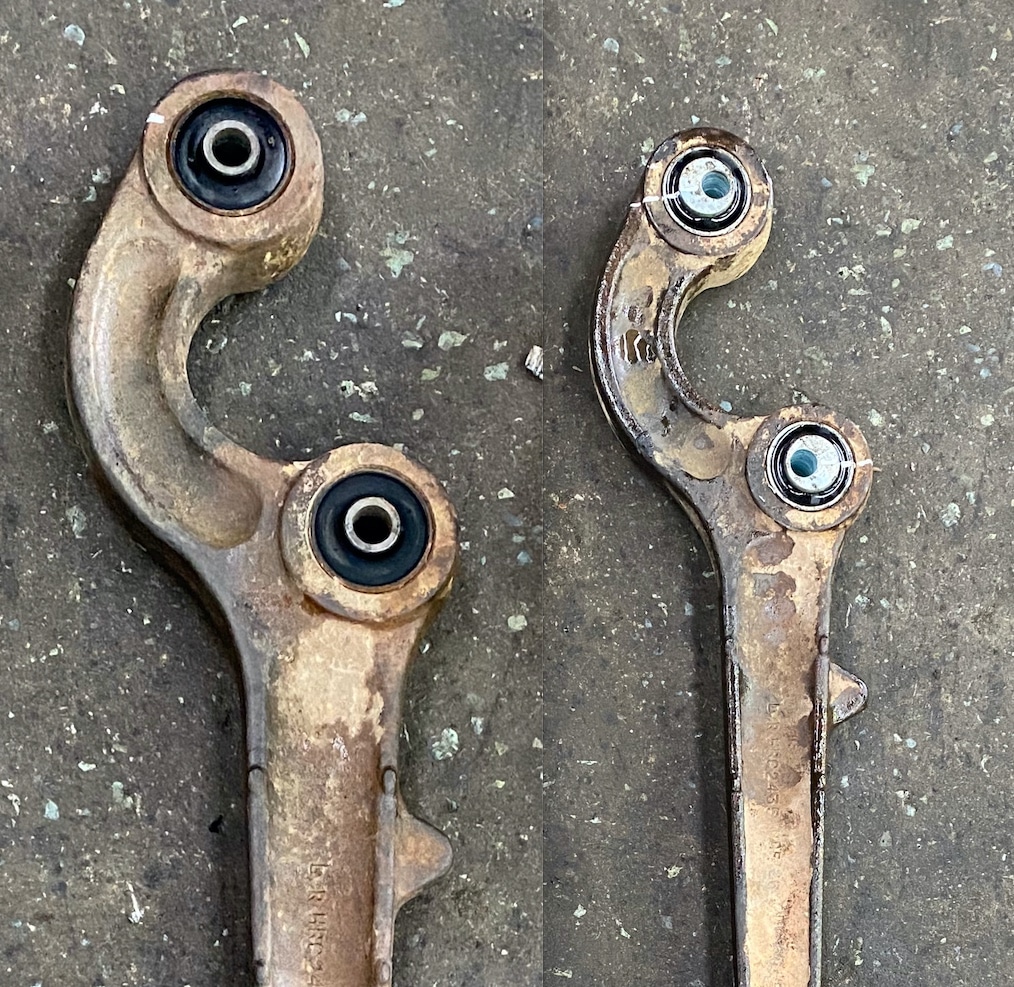
The standard bushes were pressed out (left) and the OME 2° offset caster correction bushes were pressed in (right).
Fitment of the caster correction bushes was quite straightforward, although I wouldn’t describe it as an easy process. First the front trailing arms were removed, then the old bushes were pushed out on a large press before the new bushes were pressed in at the advised position. Then the trailing arms were refitted. As is the case with any old vehicle that has seen its fair share of off-road work, all the nuts and bolts on the underside of the defender have a decent coating of ‘bloody-hard-to-undo’ on them, and I was glad I took it to Shane at Pro-Axle rather than attempt the job lying on my back in the driveway. After everything was refitted and tightened up, Shane checked and adjusted the toe-in – you should always have a wheel alignment done after fitting new suspension – and I took it for a test drive. Steering feel was now back to how it should be.
Fitting caster correction bushes in a fully equipped workshop like Pro-Axle Wollongong is much easier than doing it in your driveway.
As for the front driveshaft, I was hoping to avoid this purchase too, but the increased angle on the uni-joints meant the Defender now exhibited an annoying vibration on the road, so I ordered a ‘Premium Extreme Wide Angle Double Cardan Propshaft’ from Paddock Spares in the UK and, despite coronavirus, it showed up on my doorstep in just 14 days. Tune in next time and I’ll let you know how I go fitting it… lying on my back in my driveway.