Can you really dust proof a ute? With a bit of know-how we reckon 4X4 ute owners can beat off-roading enemy number one.
Words and photos: Tobey Bostock
Wagon owners might not understand but those who have a tub hanging out the back of their rigs would be all too familiar with the question, can you dust proof a ute? Dust is a killer. It gets in your bedding, it gets in your food, it gets in your clothes. If you own a tub-back ute, I’m sure you feel my pain. I’ve brought together a few things I’ve picked up from those wiser than I to see if this formidable foe can, in fact, be defeated.
How does it get in there to start with?
Without positive air pressure in your canopy, there is always going to be dust forced into your ute. This is caused by a vacuum created by the air being displaced by your vehicle; this air travels around the vehicle and is ‘sucked’ through all the gaps in your tub and canopy. Low and behold, enjoy your dust sandwich.
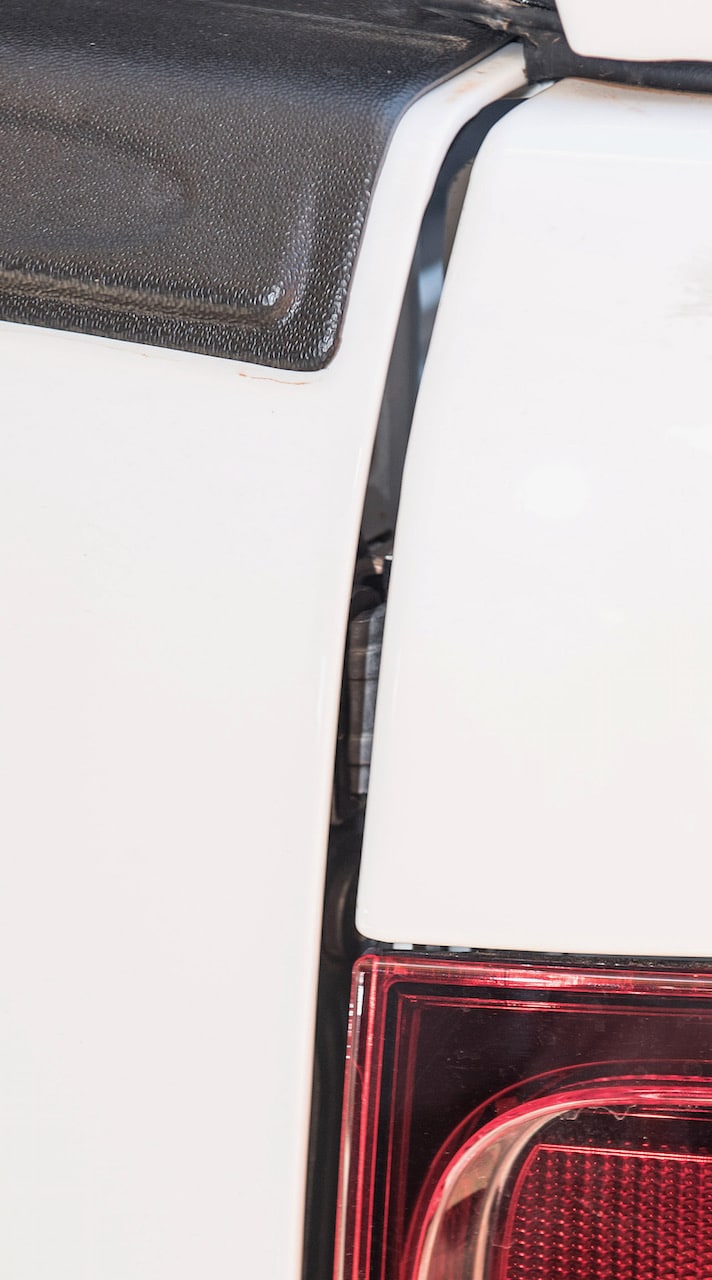
There are a few ways this dust enters the tub, but the lack of sealing around the tailgate is the most obvious culprit. There is generally no sealing from the factory – good old cost-cutting. Next there is the magnitude of holes used during the manufacturing process or for optional accessories. Most of these are out of sight and if you have a tub liner there is plenty hidden underneath that will cause you woes.
Then there is the canopy sealing. It is very hard for a canopy manufacturer to get the mating surface to the tub entirely matched; there is ridges, dips and difficult angles. The door and window seals are another easy place for dust to enter. The poor sealing materials used on some canopies also won’t help your plight; over time these tend to fatigue, shrink or perish and let in dust and even water.
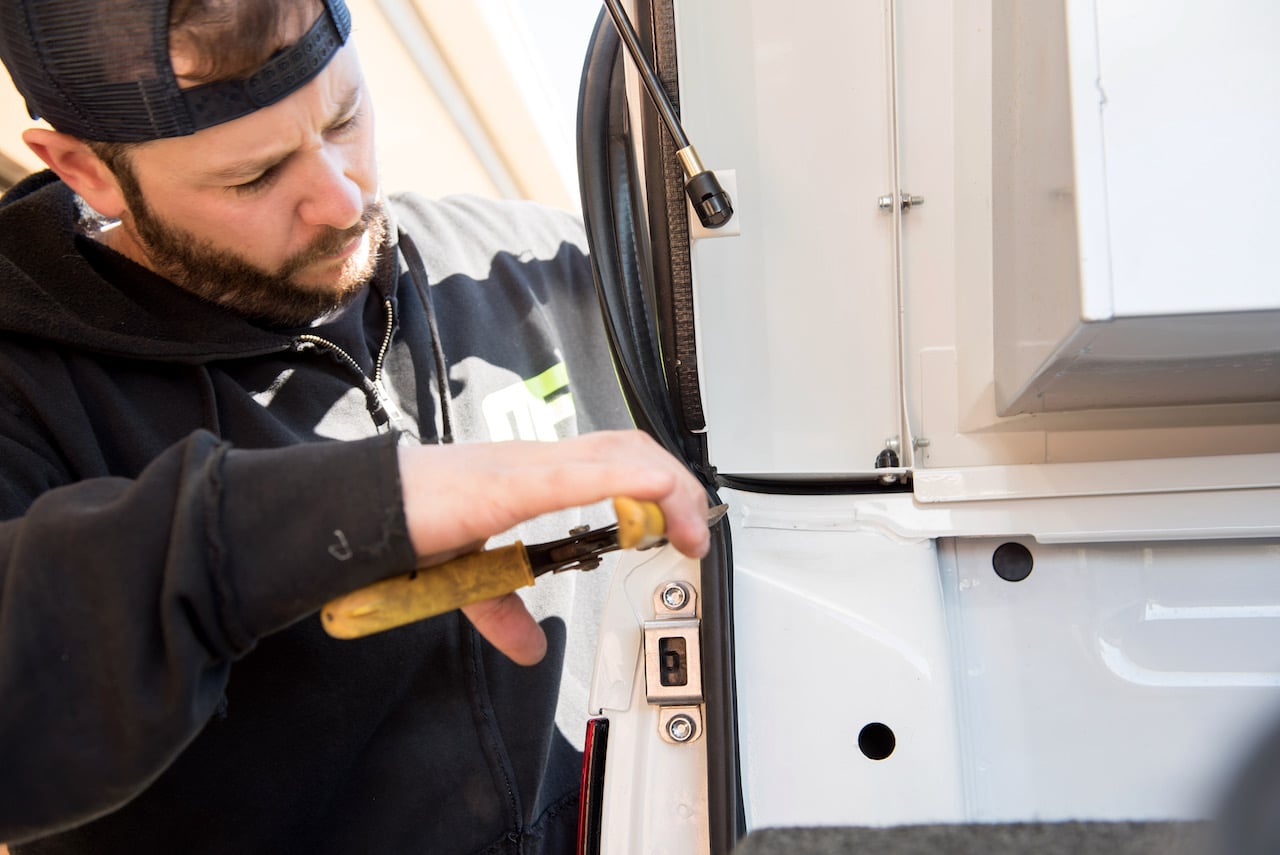
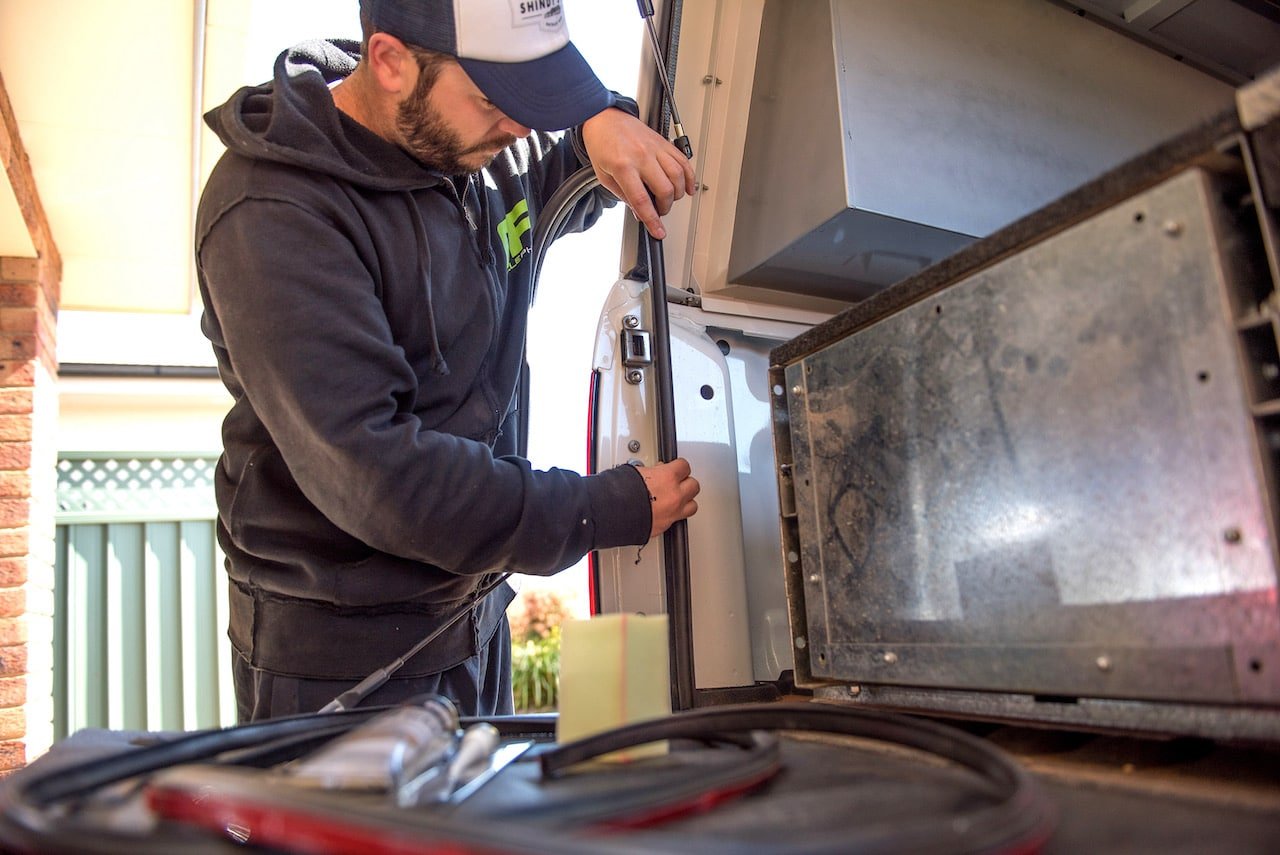
Seal up that tailgate
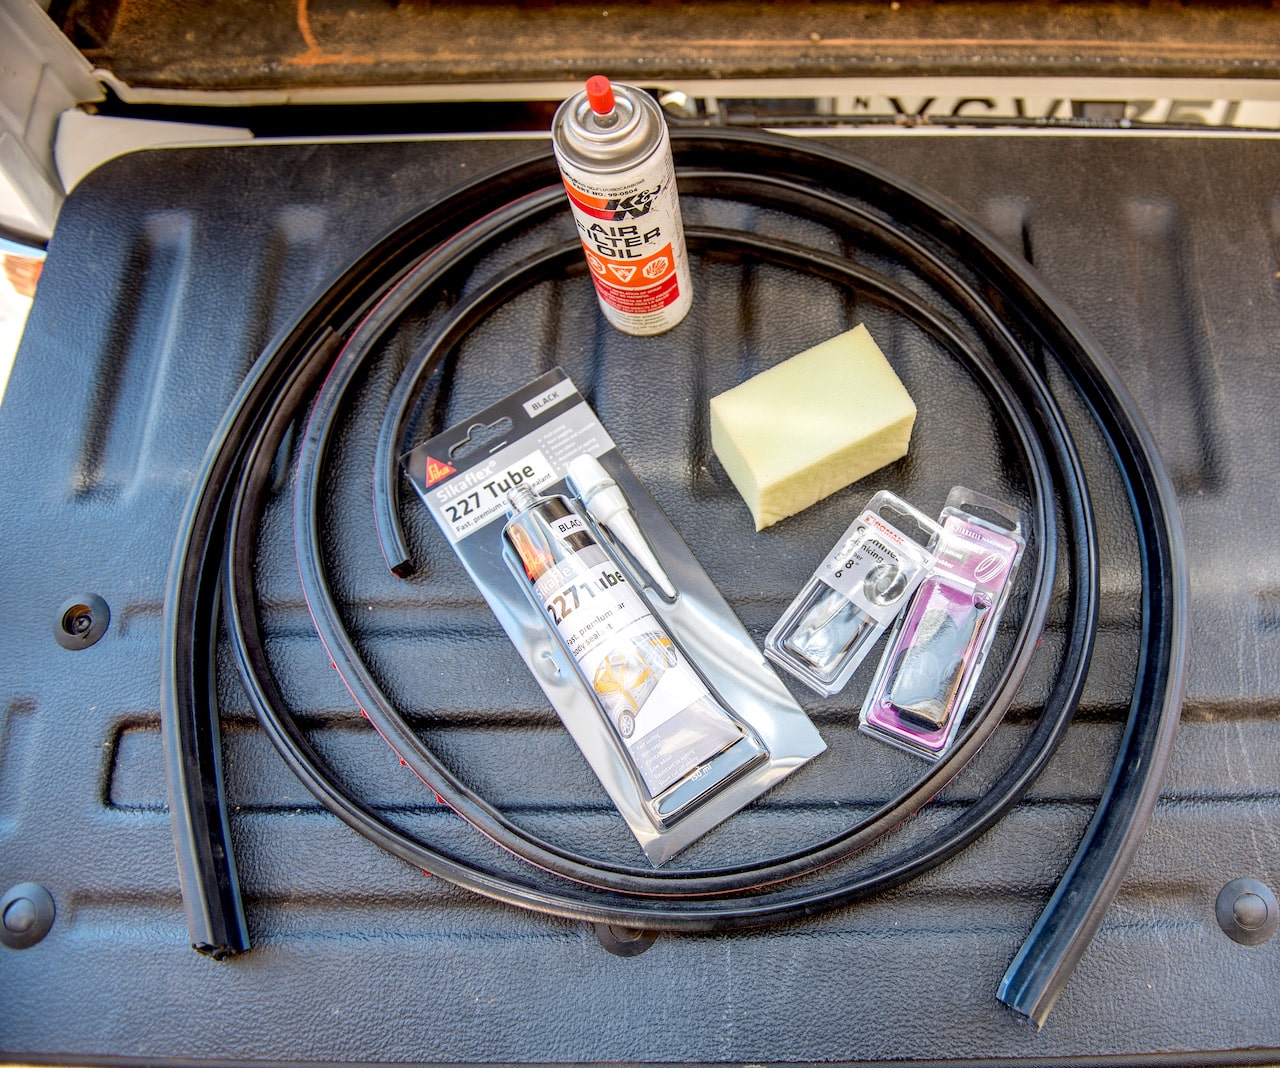
There are a number of companies that do tailgate sealing kits, such as Brown Davis, for about $70. A trip to Clark Rubber with some precise measurements will also get the job done, however getting the right size materials can be a bit of trial and error, and rubber is expensive. Take it from me, buy a kit.
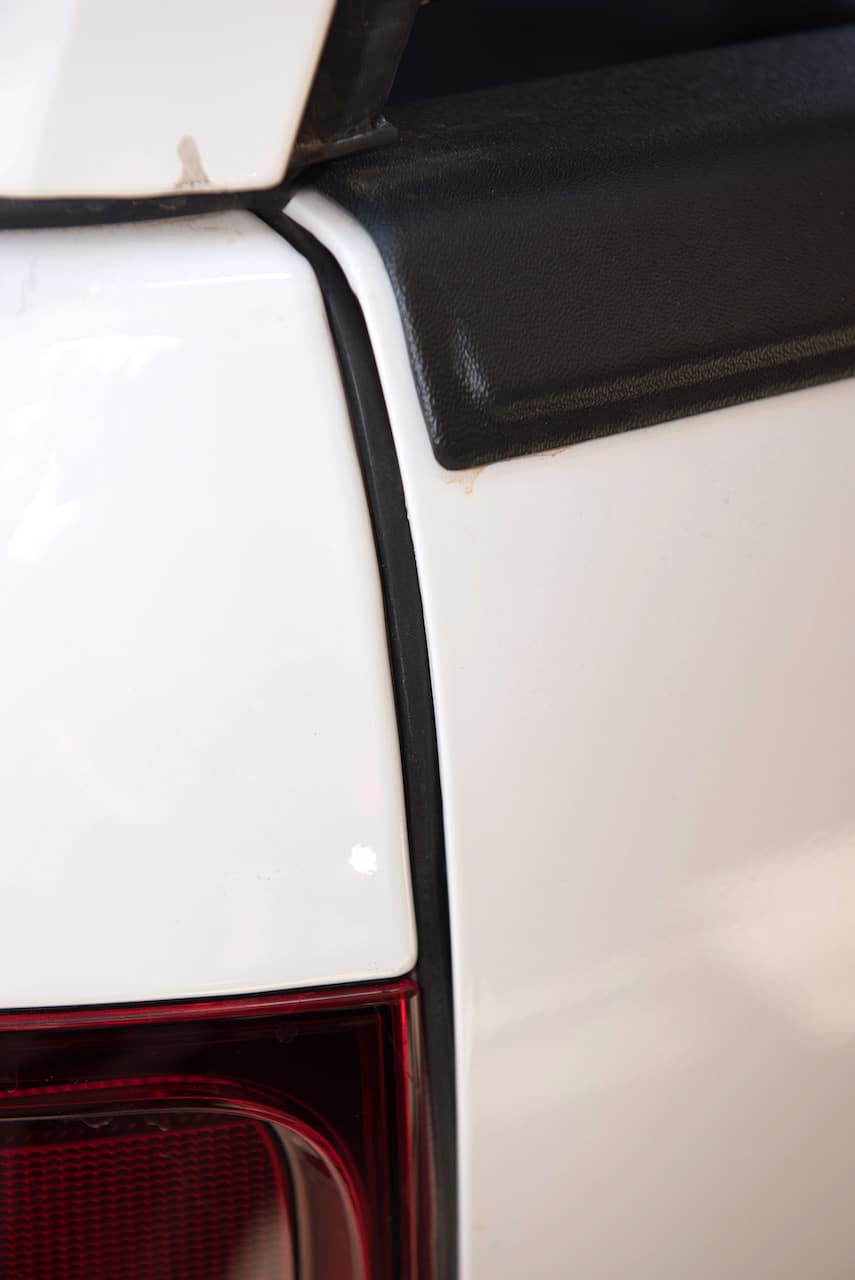
You will need to seal along the edge where the tub seam meets the tailgate, down the edge of the tailgate where it meets the tail lights, and along the bottom of the tailgate. This should prevent the majority of dust getting in. Once you have it installed, hit the dirt and see if there are any obvious signs around the seals of dust ingress. These gaps can be filled with a bit of self-adhesive foam rubber or off-cuts.
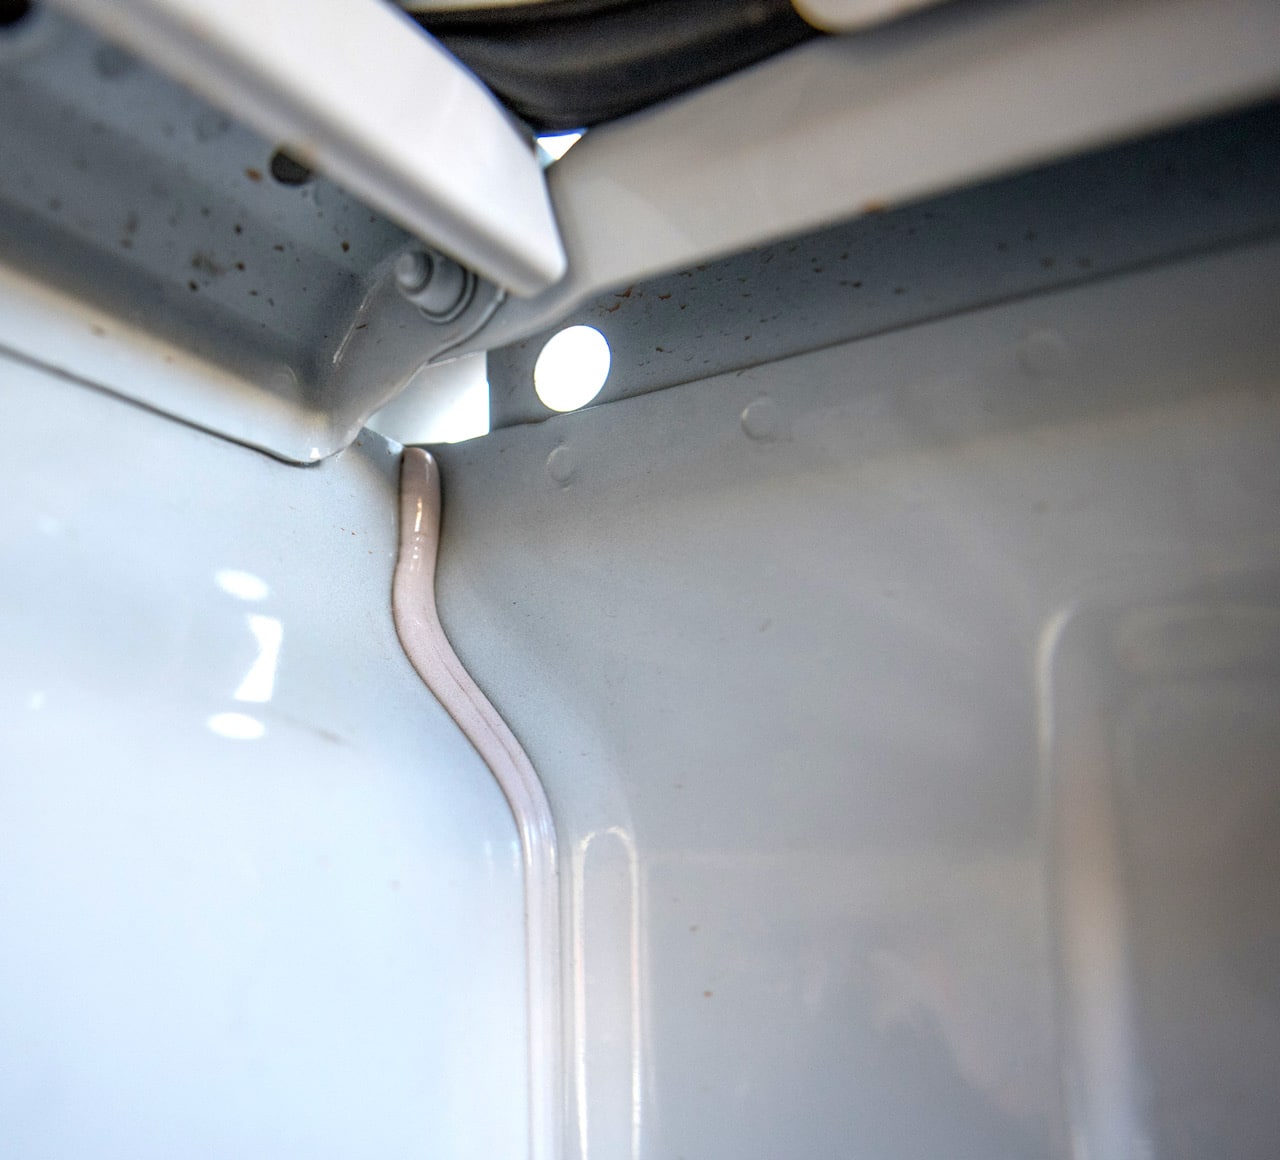
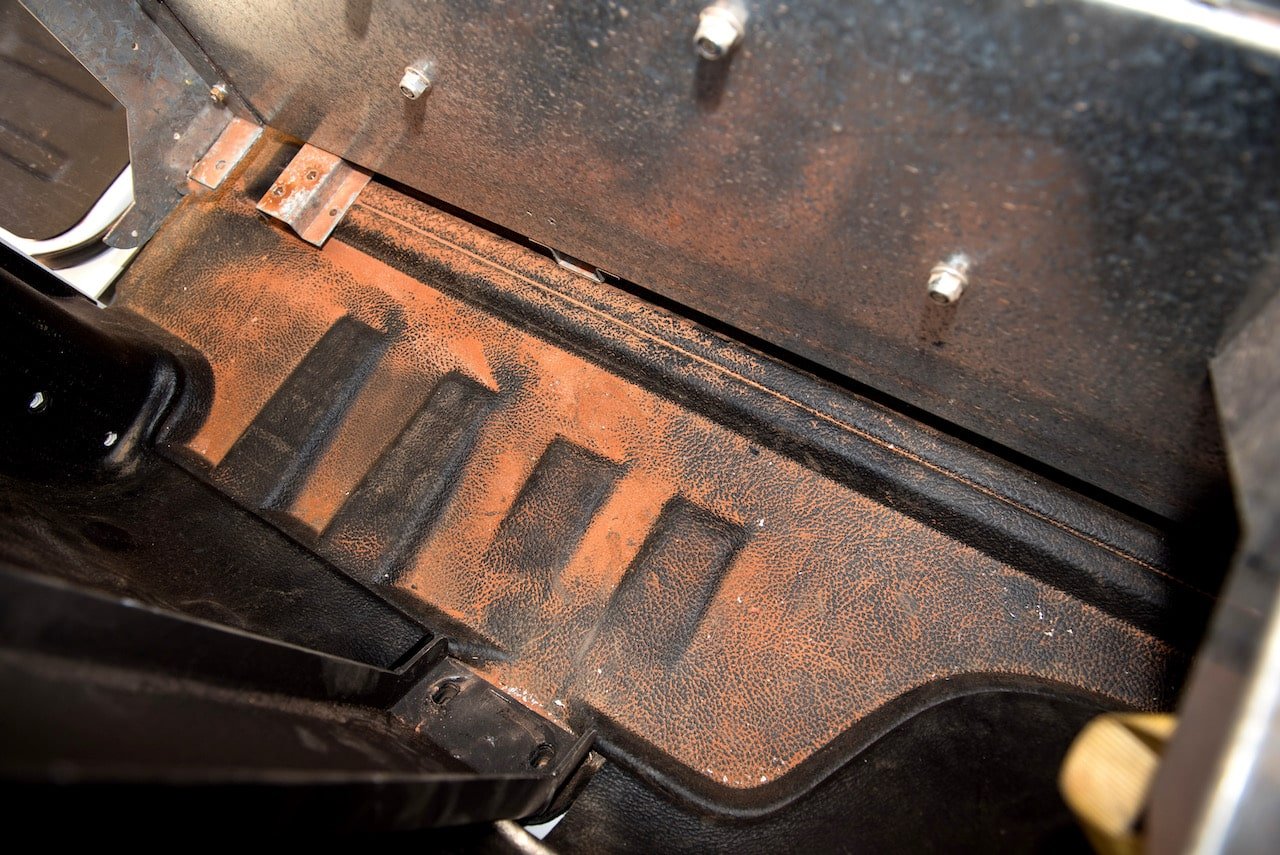
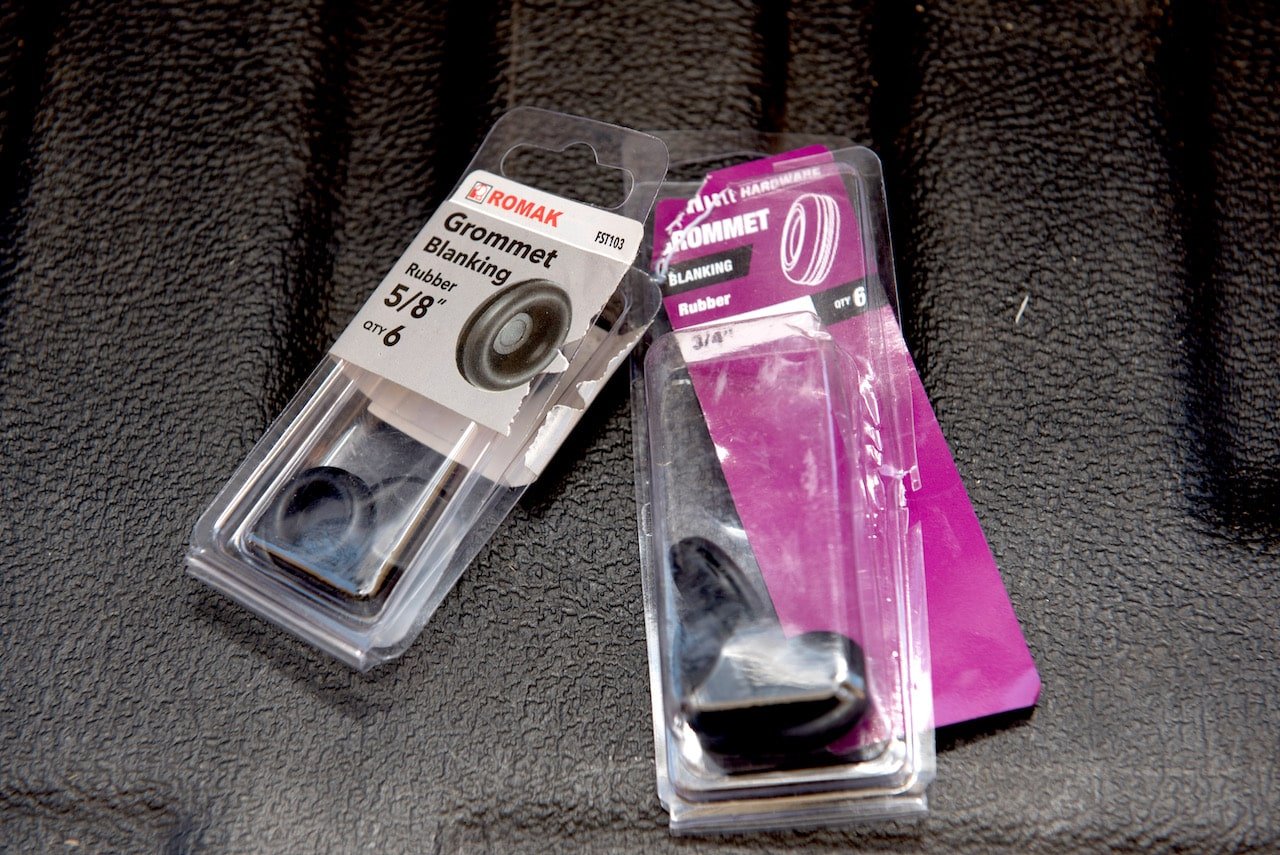
Seal those holes
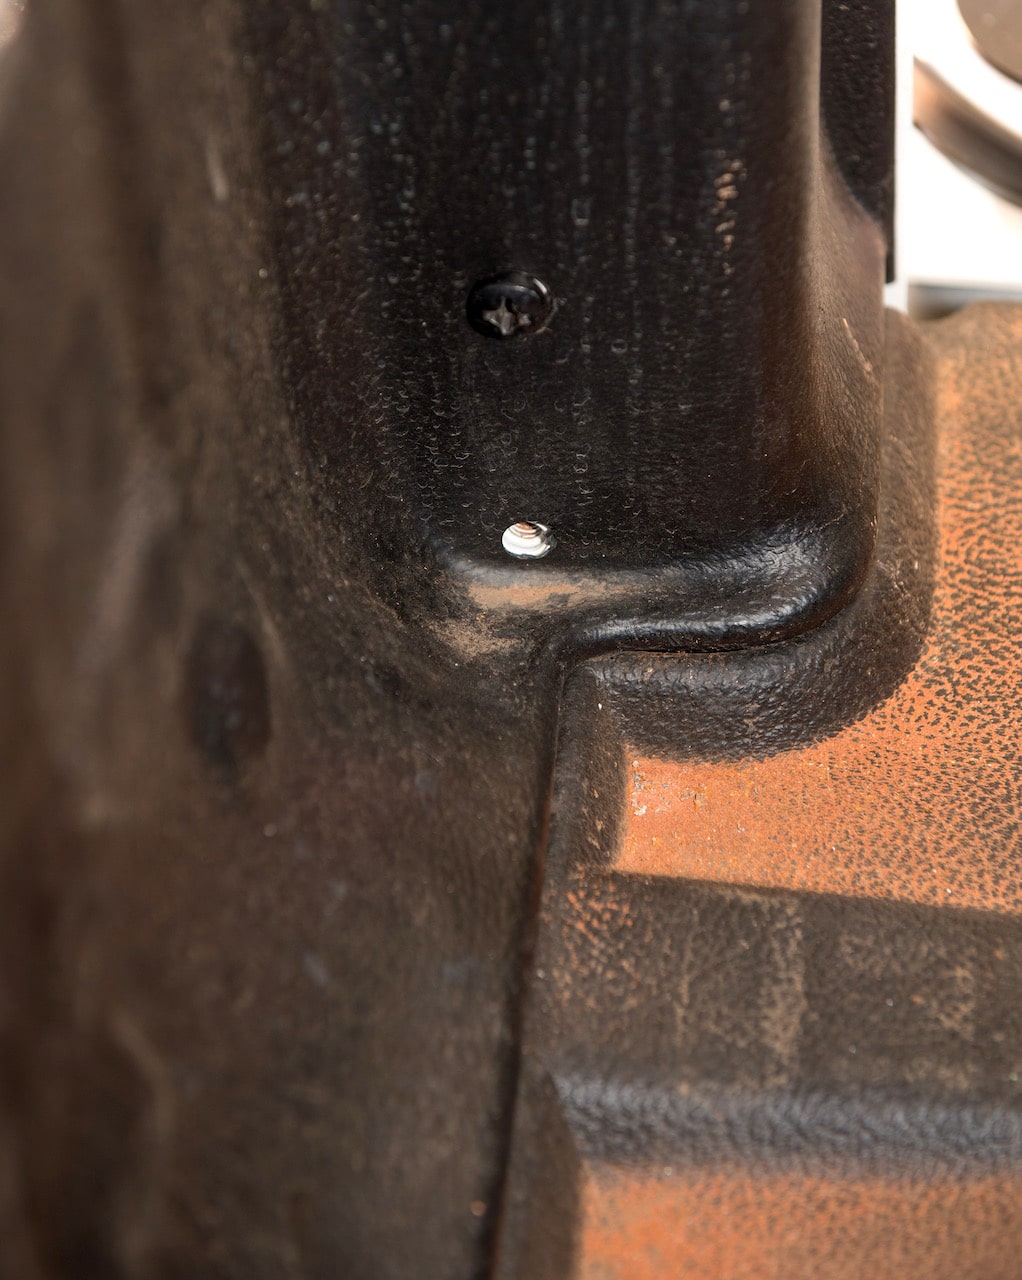
I mentioned those holes all around the tub. If you didn’t tick the tub liner box, this is a fairly simple job. For those of you that did, welcome to my world. Your favourite hardware store sells blind grommets in most sizes for the large holes. For the smaller holes a bolt can generally be threaded in.
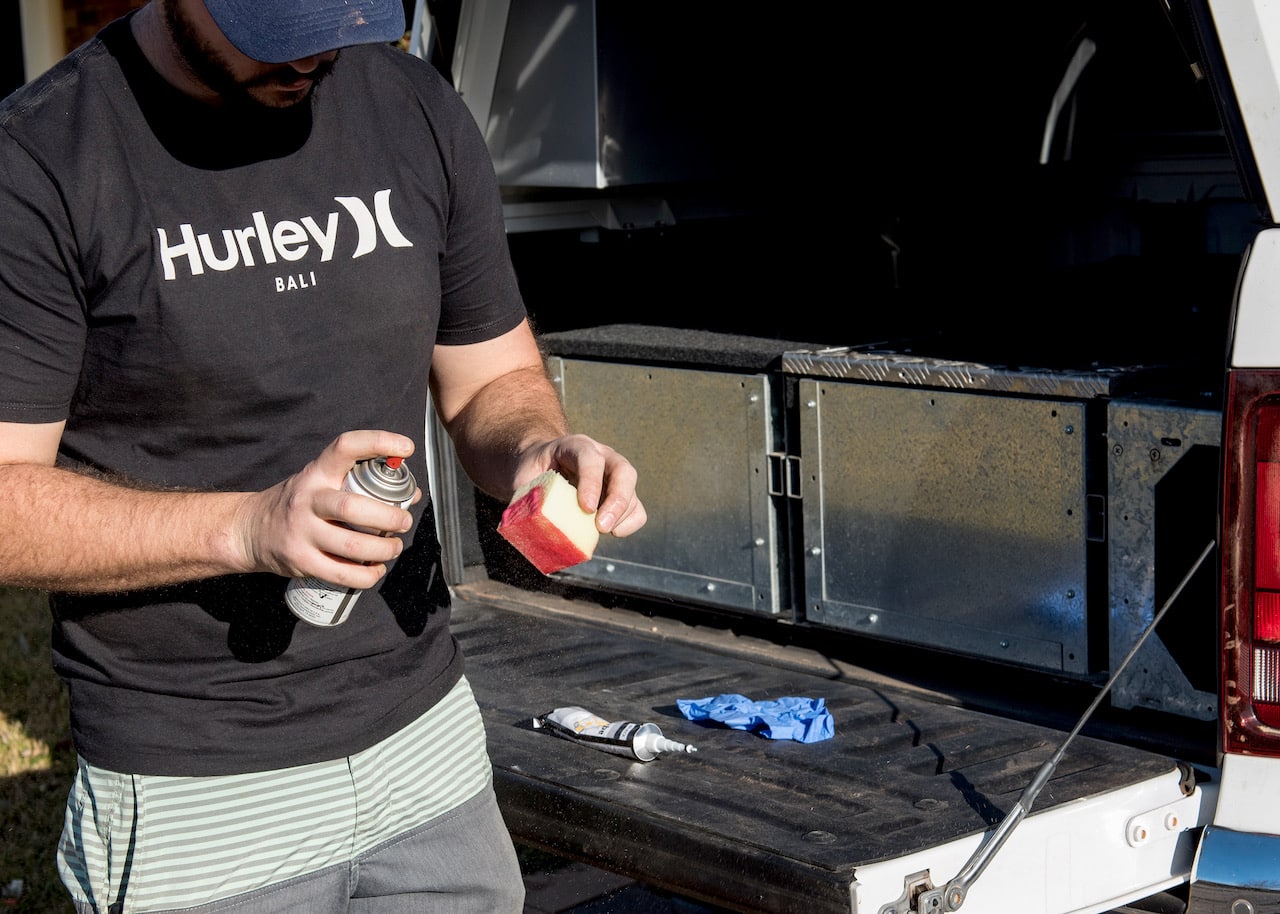
The odd-shaped gaps should be solved with good old body builders Sikaflex. Use it liberally and smooth it out with your fingers. I will warn you, make sure you use rubber gloves because once it’s on your fingers, it ain’t comin’ off – leading to words with the boss come Monday.
Before you go filling every single hole, if your vehicle is anything like my Amarok, it has giant square holes under the lip at the front of the tub. Now if my thinking is correct, these aren’t necessary to fill – remember that positive pressure I talked about earlier? These are a start to creating that pressure now that all of the other holes are filled. But for other vehicles, dust can still find its way in. The solution I’ve chosen involves a square piece of open-cell foam, strangely akin to the stuff used in an air filter, coated in some vegetable oil or filter oil and shoved into the holes. This will filter out the dust. They’d do well with a spray of oil before each trip.
Pressurise the canopy
This is a bit more of a difficult one. Caravan and camper manufactures have this down to a tee, however canopy builders are still playing catch up. Some canopies can be optioned with a ‘scupper vent’, others may have a sliding window. These are great, however they also let in dust from other vehicles and when it starts to rain, it’s another thing to worry about. The pressure only needs to be a fraction more than what is outside the vehicle, but this is difficult to measure.
Scupper vents can be bought aftermarket but will require taking a grinder to your canopy; not something I’m willing to do this time around.

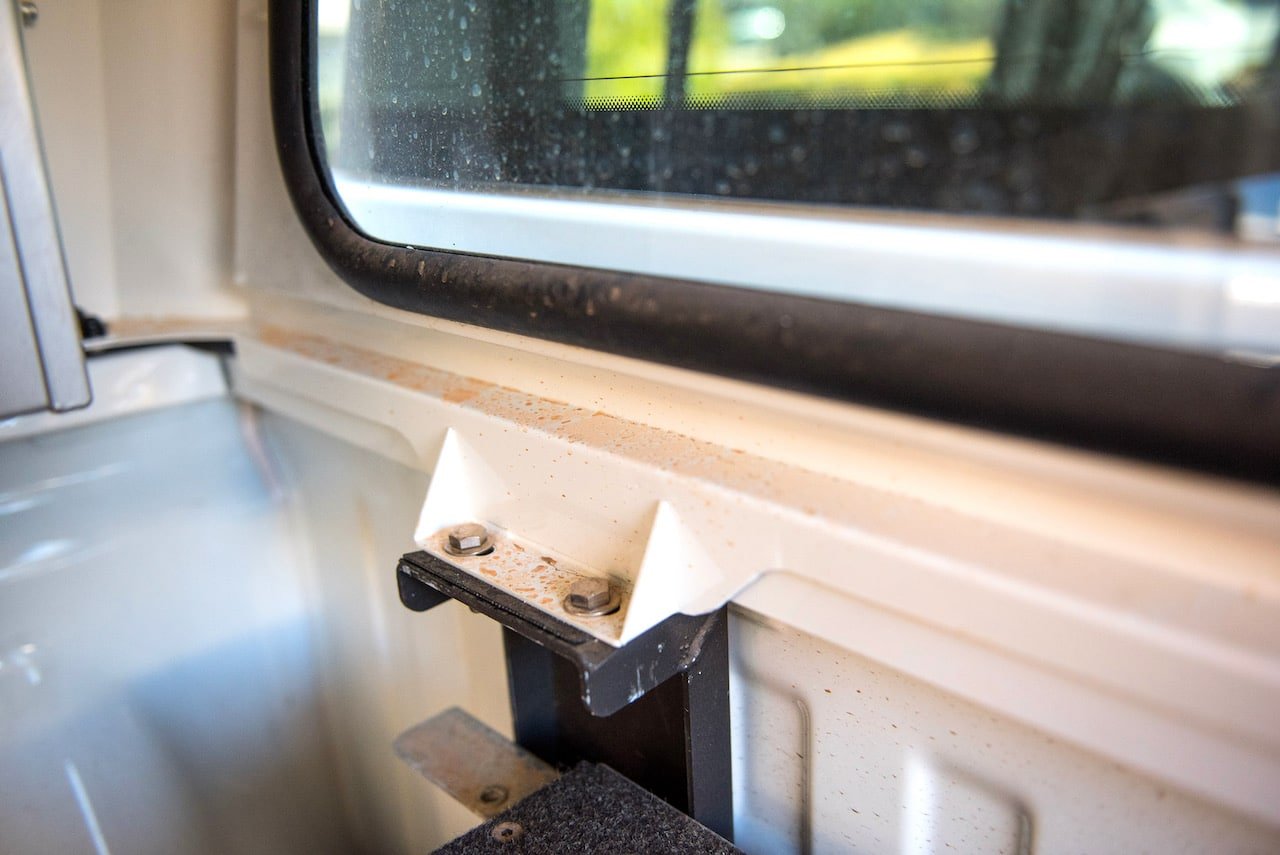
Check your seals
Have a close look at all of the seals on your canopy. If they are fatigued or damaged, there is a good chance they are letting dust in or at least affecting the pressure inside the tub. If foam rubber has been used to mate the canopy to the tub, this compresses over time and may not do the job initially intended. Consider finding a suitable rubber seal that will last significantly longer. Canopy manufacturers also do re-sealing kits.
It won’t hurt to treat the seals with silicone spray that won’t attract dirt every so often to keep them fresh.
So how did it all go?
Well considering I had a 2mm layer of red rust in my tub after just 200km off the bitumen before making these changes, I’d say anything less is a win. Considering that benchmark, a world cup is on the cards. These changes, that are an easy afternoon DIY job, have all but eliminated the entry of dust. Yes, it will take some maintenance to keep it like that, but I’m happy with that.
Got a dust-sealing tip? Did I miss something? We’d love to hear it! Let us know in the comments section below.