HOW TO RESTORE YOUR RUSTY CAMP OVEN
For images, the video and the full Unsealed 4X4 experience, READ HERE.
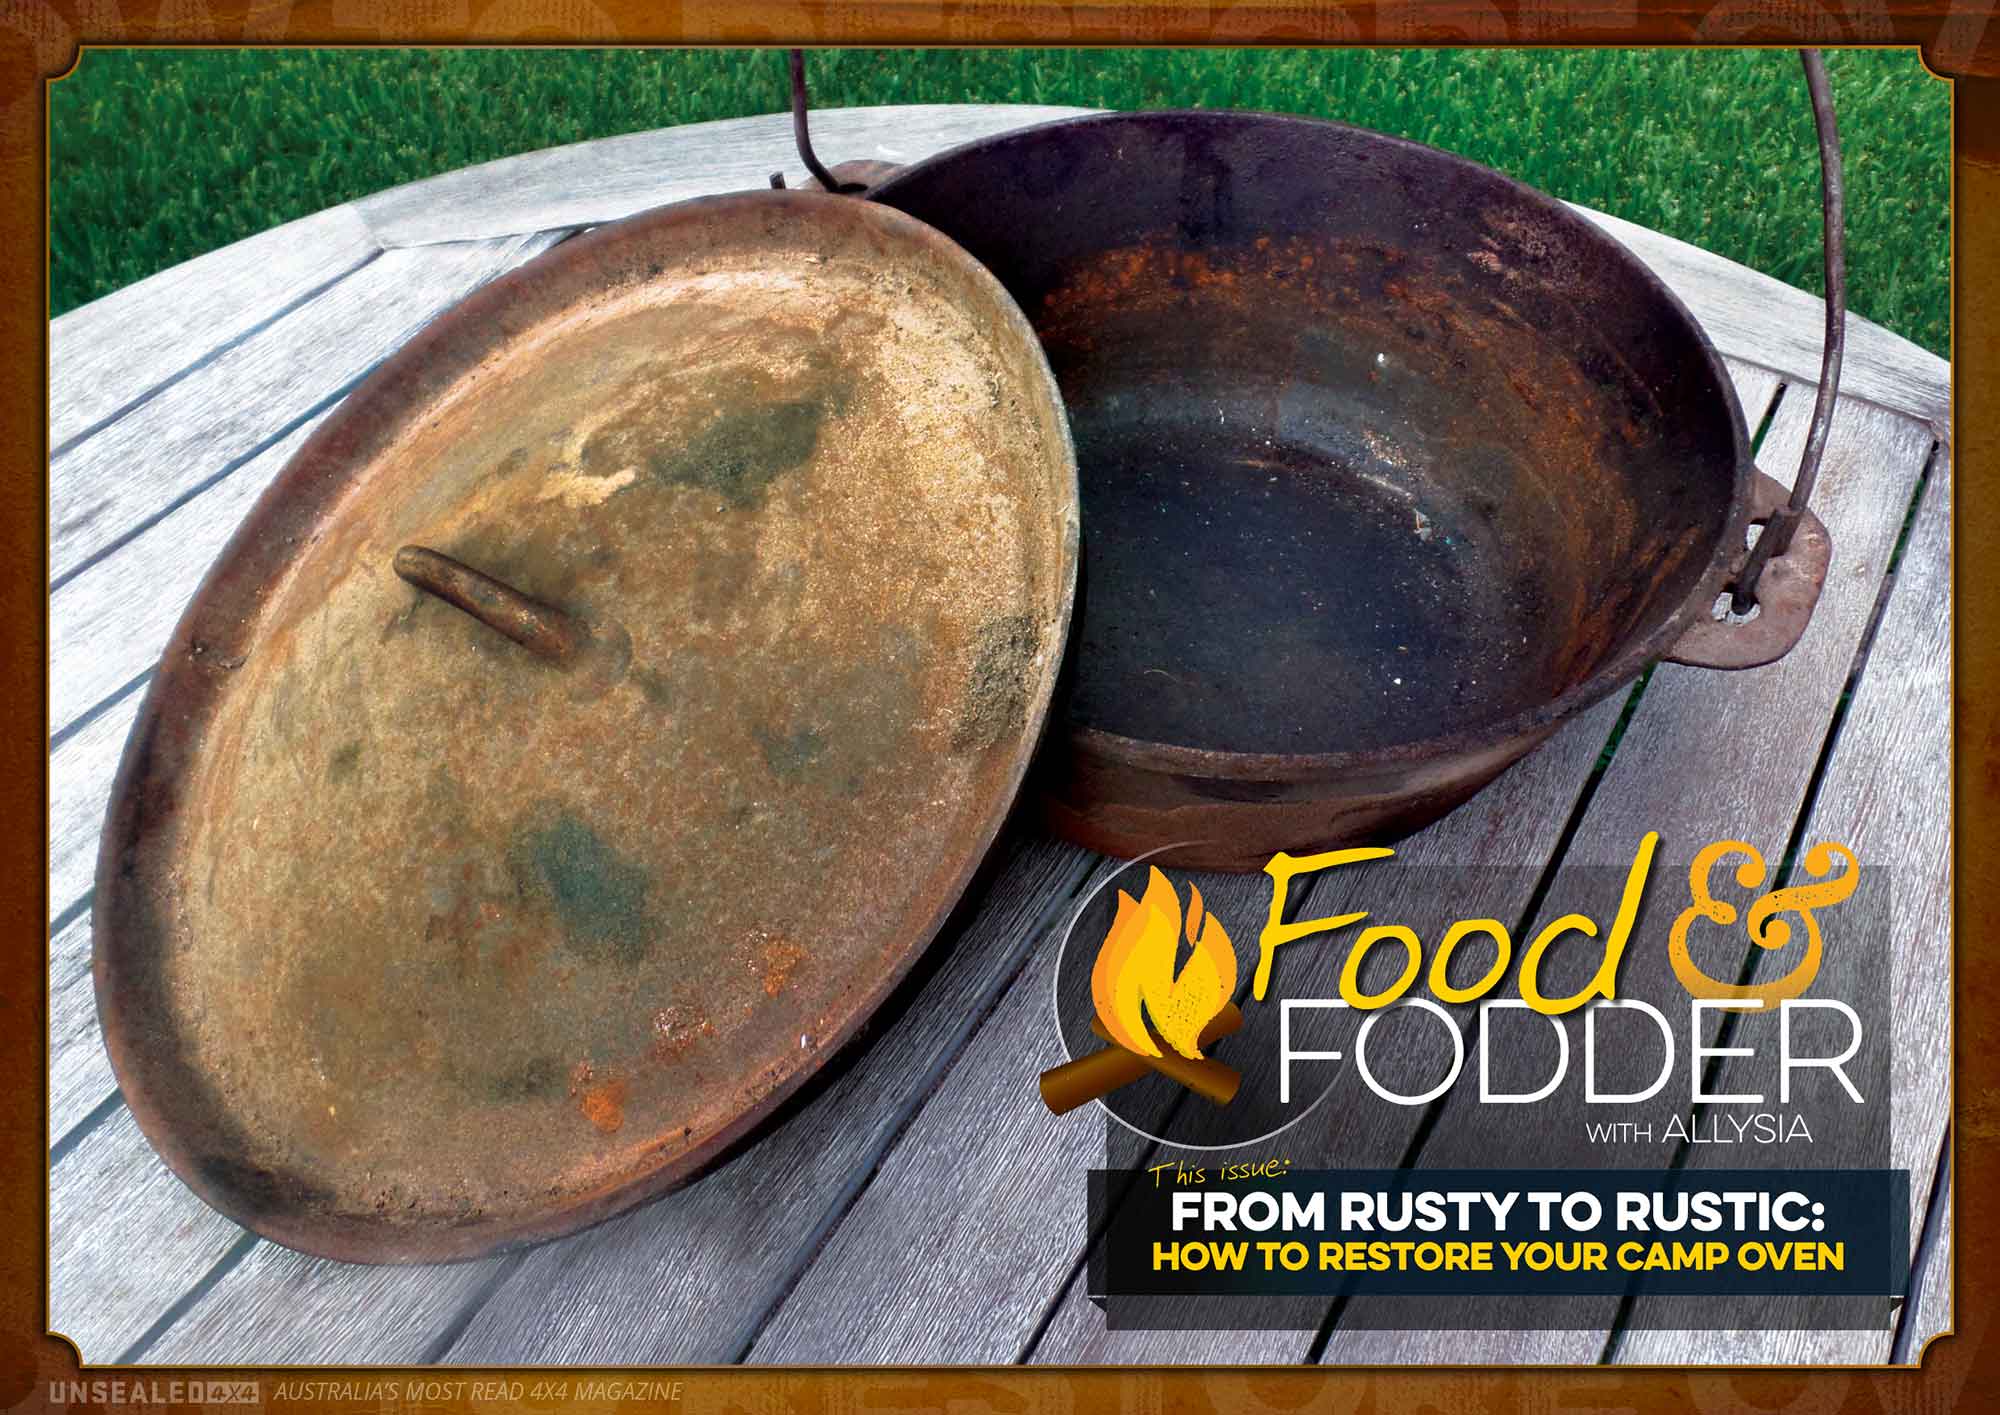
Ever brought out the camp oven and found it in such a bad state that even the community of bacteria that once lived in it have packed their bags and moved on? I’m talking about rust. Rust so thick you could get tetanus just for looking at it the wrong way – never mind the dirt, dust and dried-on remains of what was probably that casserole from last Easter’s camping trip.
With that tasty image in mind, welcome to Food and Fodder. As the name suggests, I’ll be writing about food and everything related to it, including easy recipes, food storage solutions and nifty gadgets. I want to help make sustaining yourself in the bush that little bit easier, especially when the nearest takeaway to your campsite will be something from your 12V fridge. What’s a better introduction then, but to show you how to restore a rusty camp oven to its former glory – and how to keep it that way.
WHAT YOU NEED
- Steel wool or a wire brush attachment on your drill
- Hot soapy water
- Protective gloves for handling a hot camp oven
- A hot oven or fire
- Oil – flaxseed is supposed to provide the best non-stick surface but vegetable, olive or peanut oil will also do; I’m using coconut oil.
WHAT TO DO
- Get your camp oven hot. Really hot. Leave it in a campfire or kitchen oven at around 200º for one hour. This will help lift the dirt and rust.
- While it’s still warm, use steel wool or a wire brush and get to work. Be thorough, because if rust is left it’ll eat away all your hard work and you’ll have to do it all again.
- Give it a mean clean. Use hot soapy water and steel wool to wash off all the remaining rust, dirt and steel filings. This is the only time you are allowed to use soap and water on your camp oven – just think of it as a camp oven baptism.
- Pat dry with a tea towel and throw the camp oven and its lid back into a hot oven for another 15–20 mins. This will draw out any extra moisture and opens the pores in the metal.
- Use a rag or paper towel to rub a thin, even layer of oil into every square centimetre of the cast iron while it’s still warm.
- Put it back in the oven – the oil will smoke, so if you’re doing it inside, open some windows. Leave at 200º for one hour. Putting it in upside down will stop oil from pooling in the bottom of the pot.
- Repeat step 5 and 6 as many times as you like. I seasoned mine twice; some people do it three or more times.
CAMP OVEN MAINTENANCE
- Avoid cooking acidic or sugary foods in your camp oven – especially for the first couple of meals after your initial seasoning – as they tend to break down that hard fought protective layer.
- Food should wipe off easily in a well-seasoned camp oven. Rinse with warm water and wipe out with a paper towel. If food has stuck, heat water in the bottom and lift food with a plastic spatula or plastic scrubbing brush.
- Don’t use soap! Detergent breaks down the oily seasoning and because the metal is porous, your next meal will taste like soap.
- Dry it on an open fire or camp stove to expel any left over moisture. Once dry, wipe a thin layer of oil over the camp oven and its lid – inside and out. Do this after every meal.
Food tastes better from a well-seasoned camp oven. The more you cook with it, especially oily or fatty foods, the thicker the seasoning becomes. Over time, the seasoning should become non-stick and even easier to clean. So next time you get called out for making too much bacon on your trip, tell them that you’re performing a public service and improving the quality of your camp oven.

